Leaderboard
-
Moon Puppy
Members14Points34Posts -
sandbaggeruk
Members13Points84Posts -

Jeroen Peters
Administrators11Points266Posts -

DocRob
Members3Points238Posts




Popular Content
Showing content with the highest reputation on 08/30/2026 in all areas
-
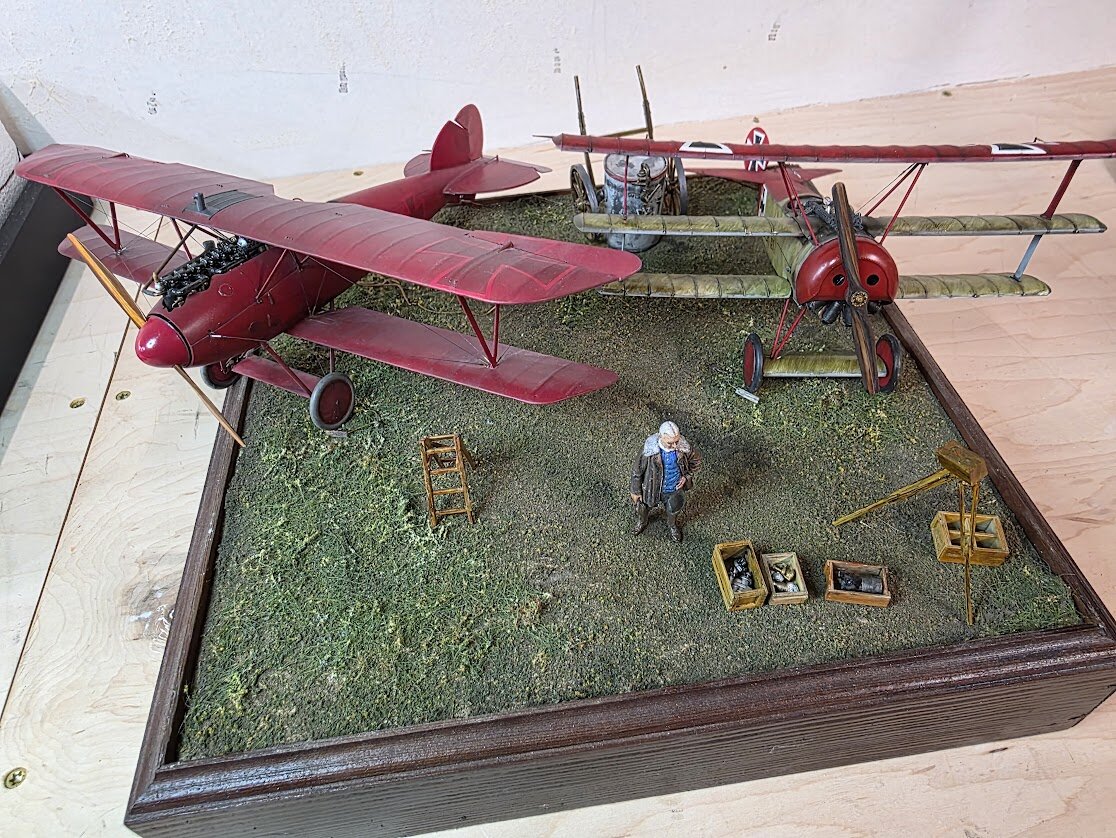
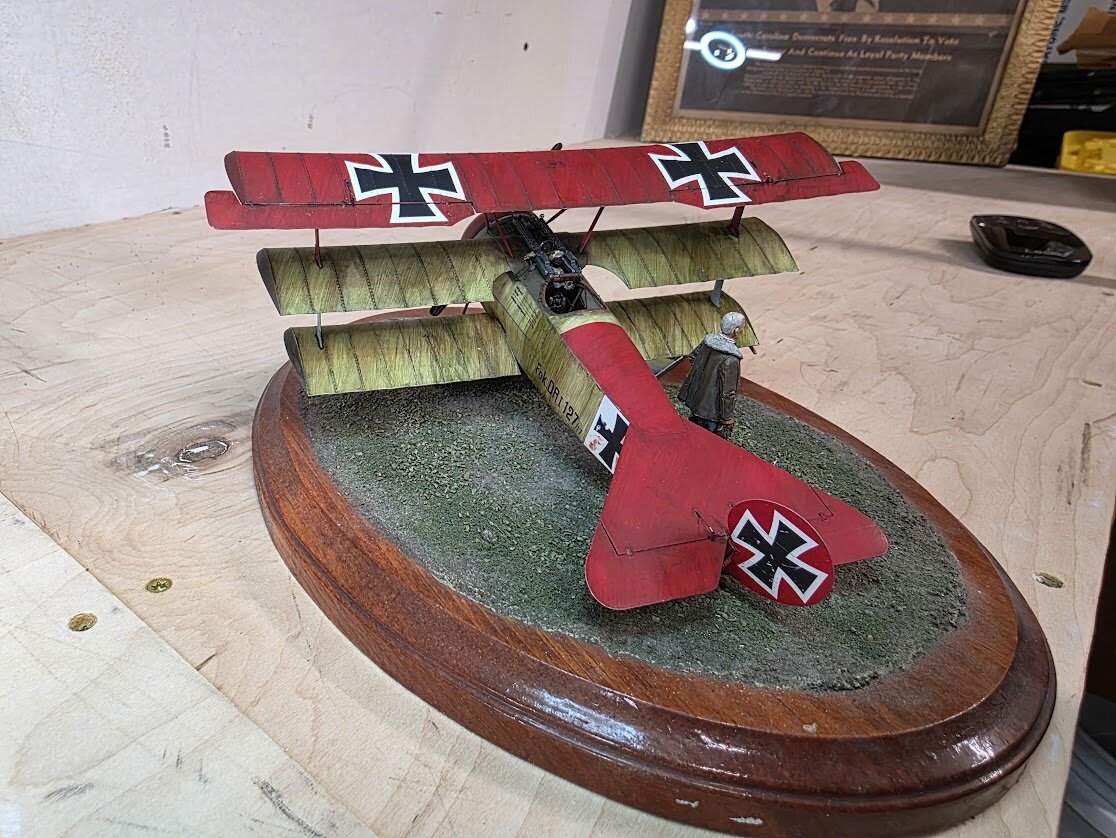
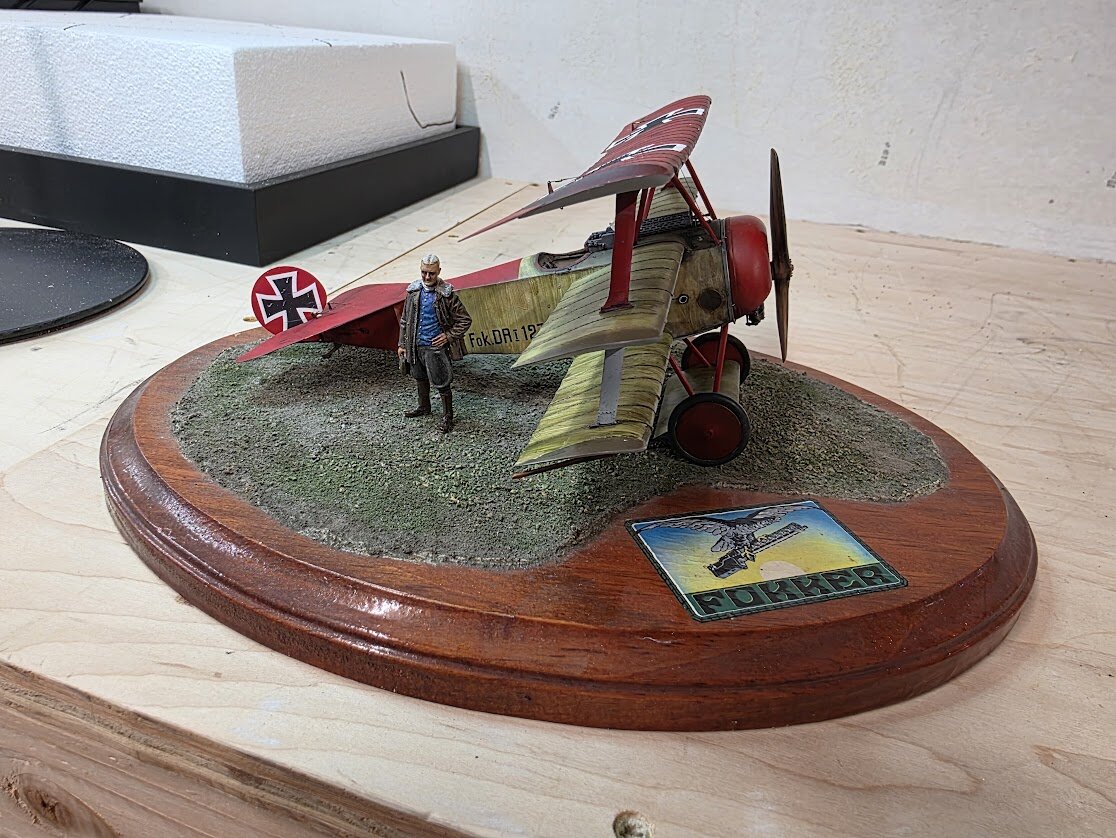
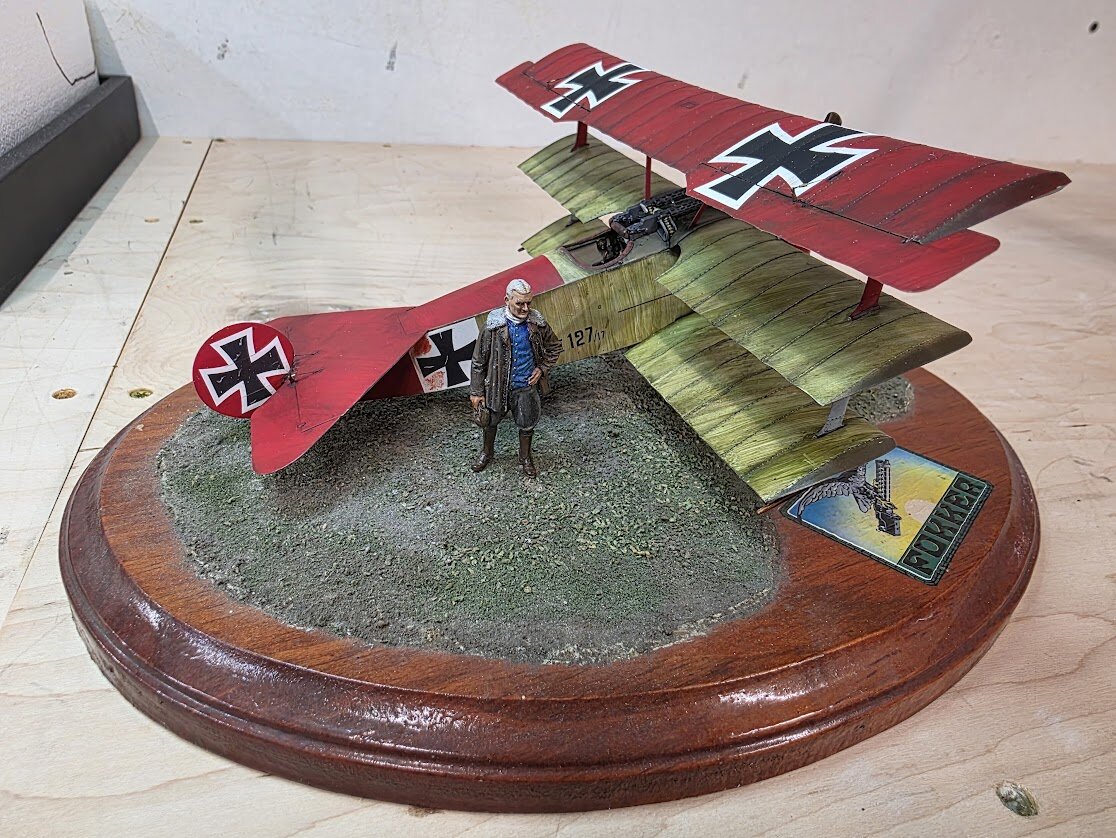
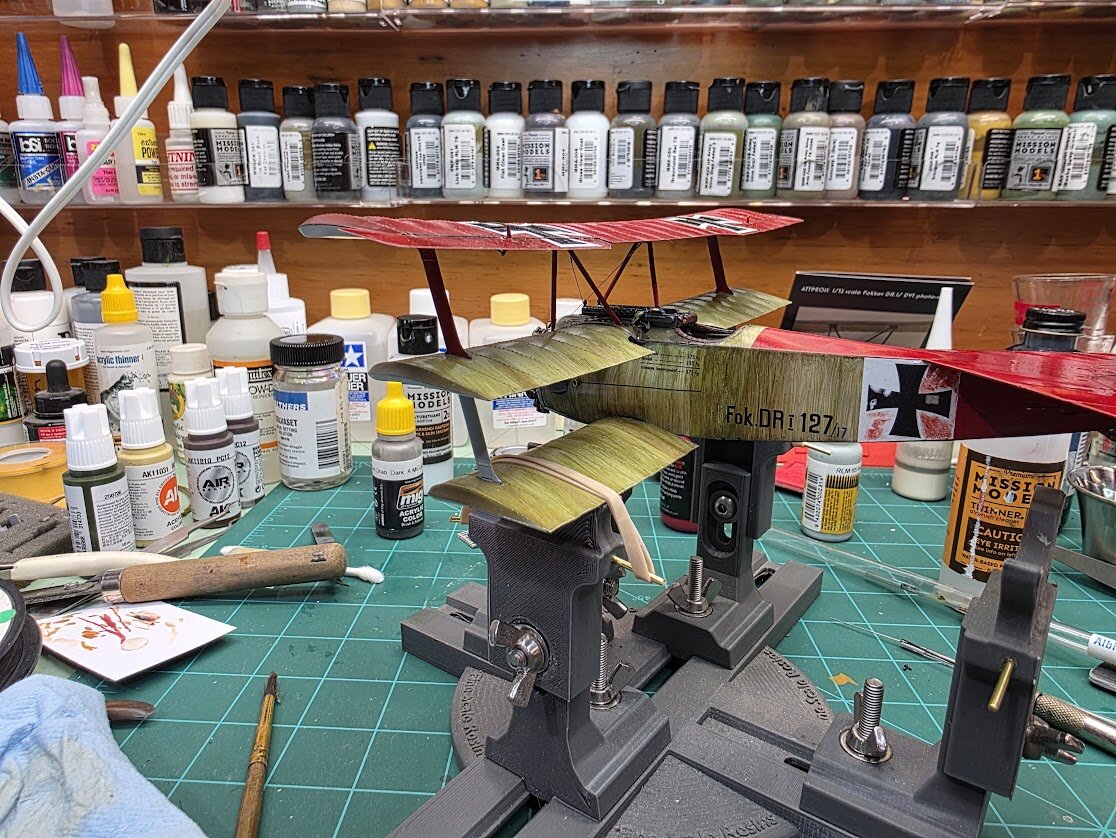
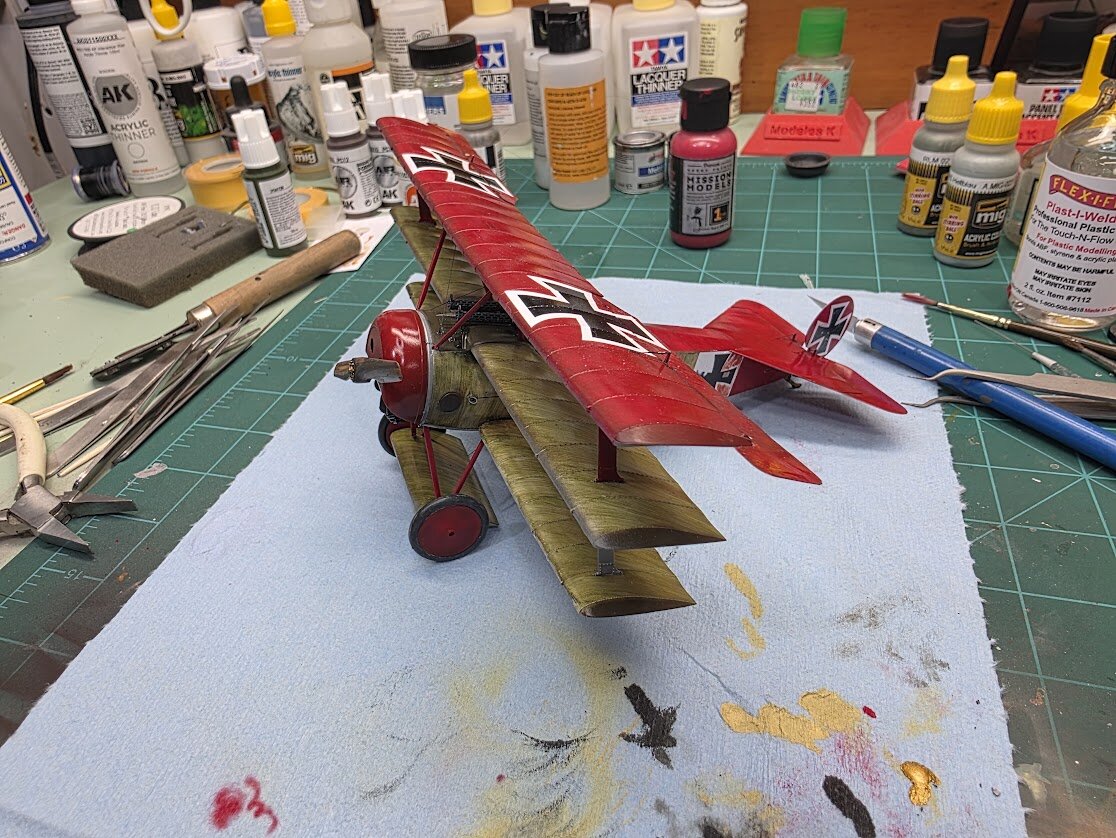
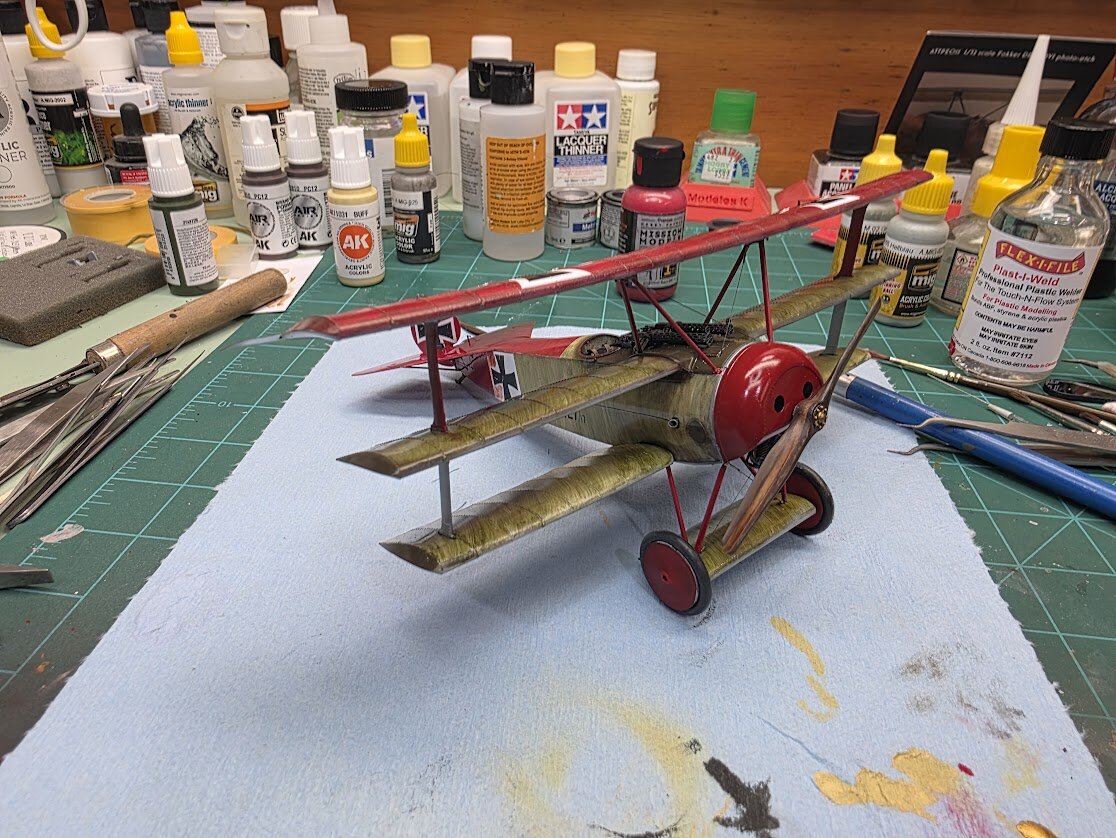
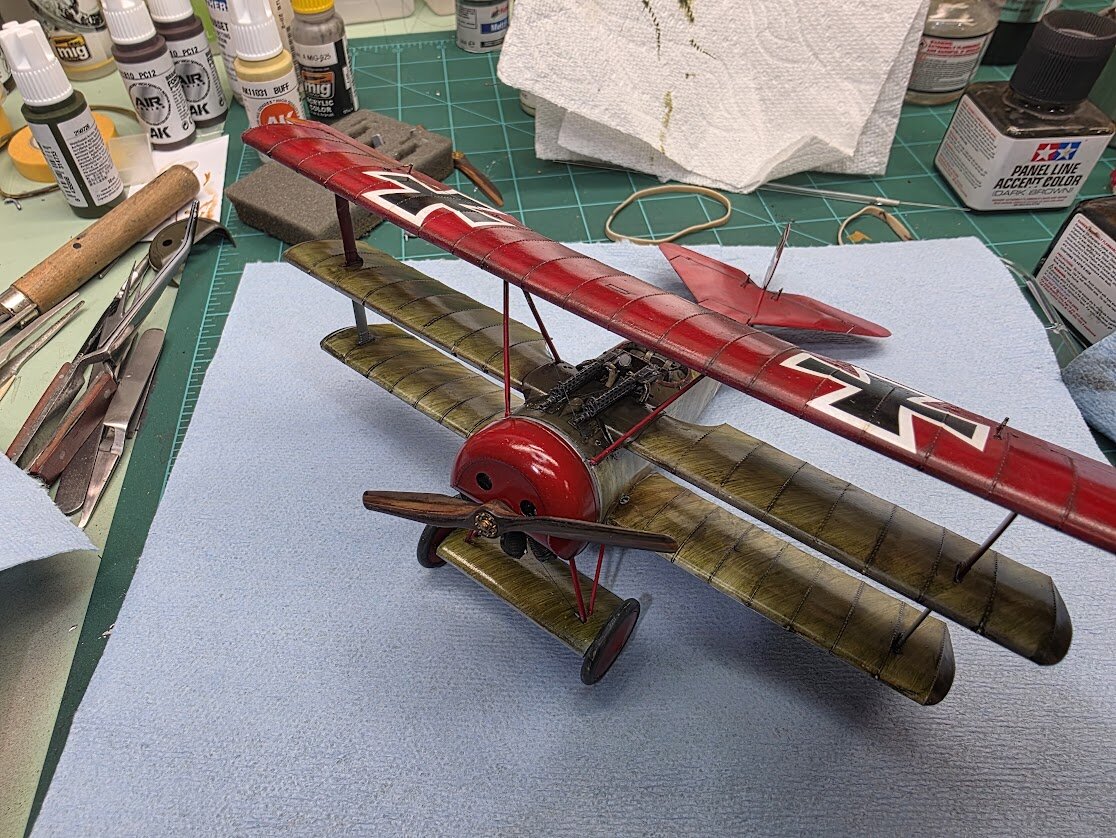
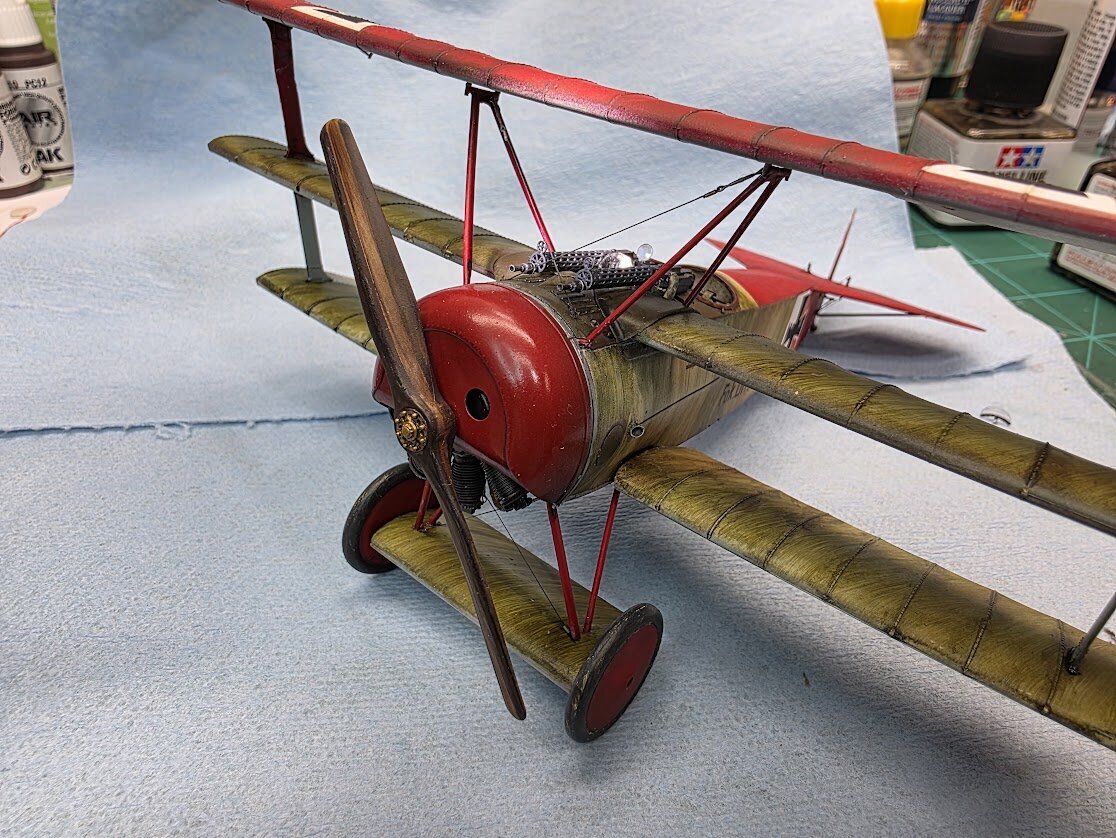
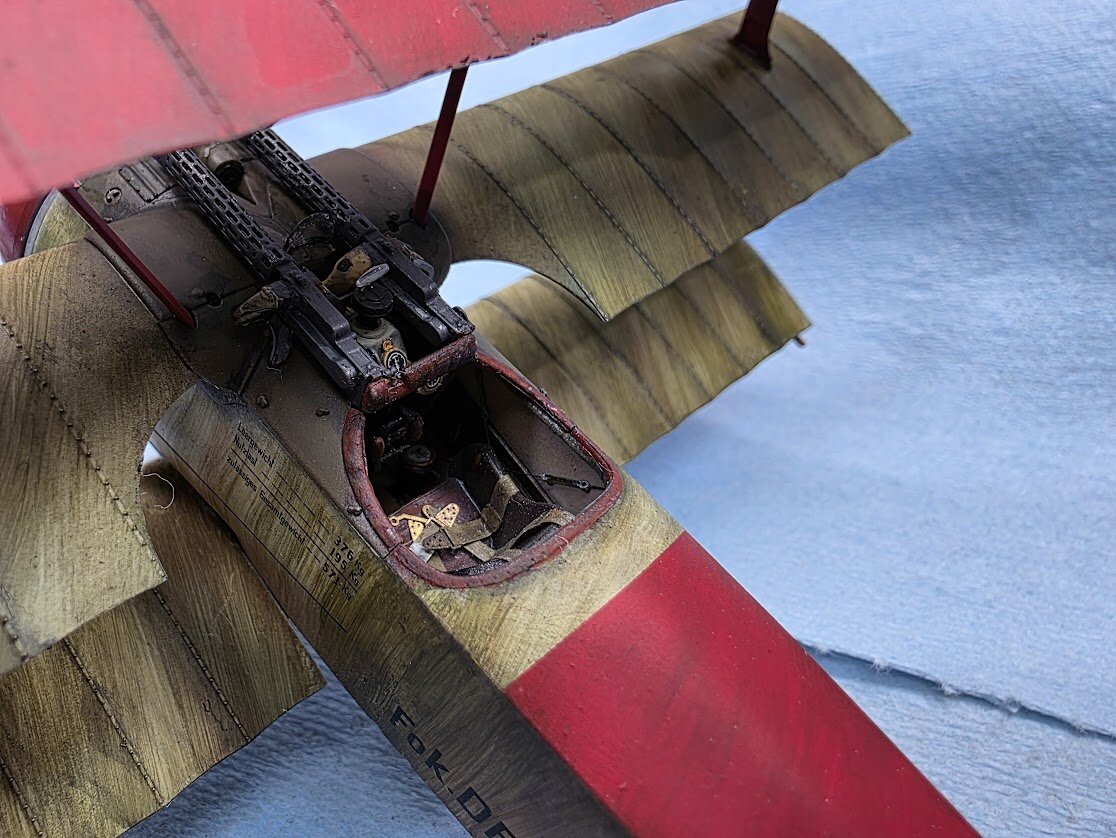
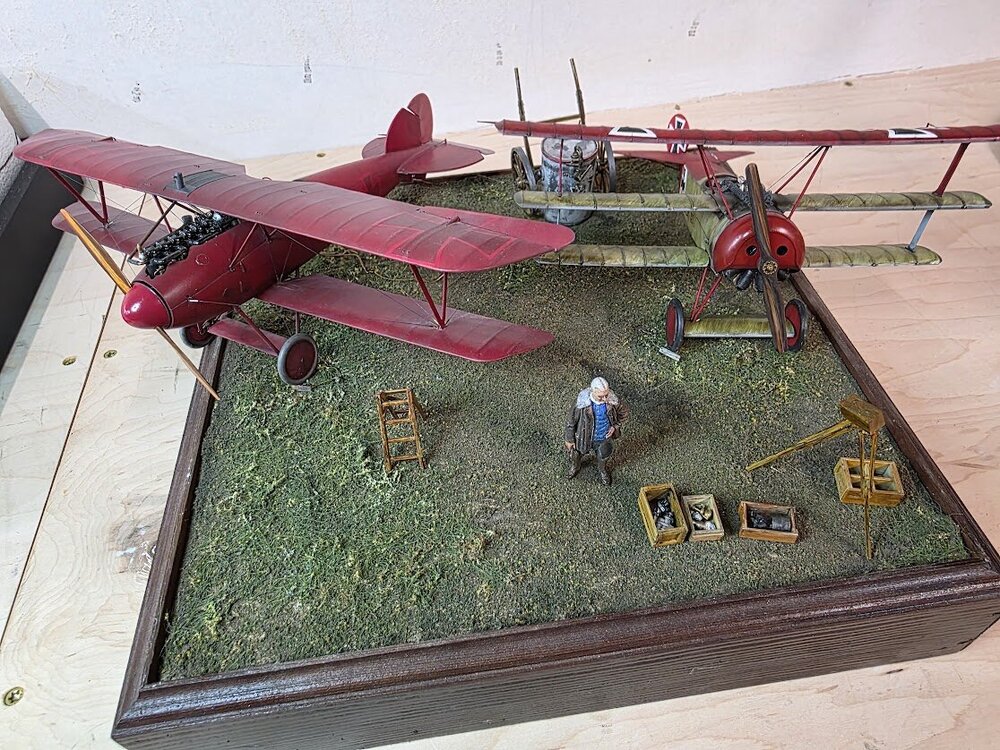
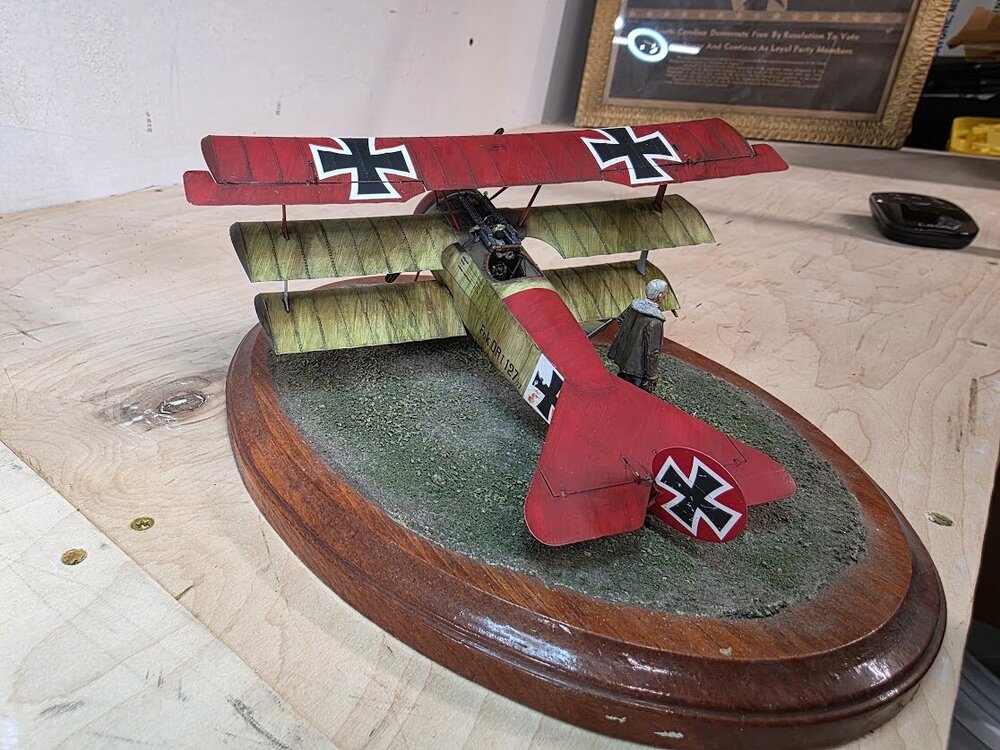
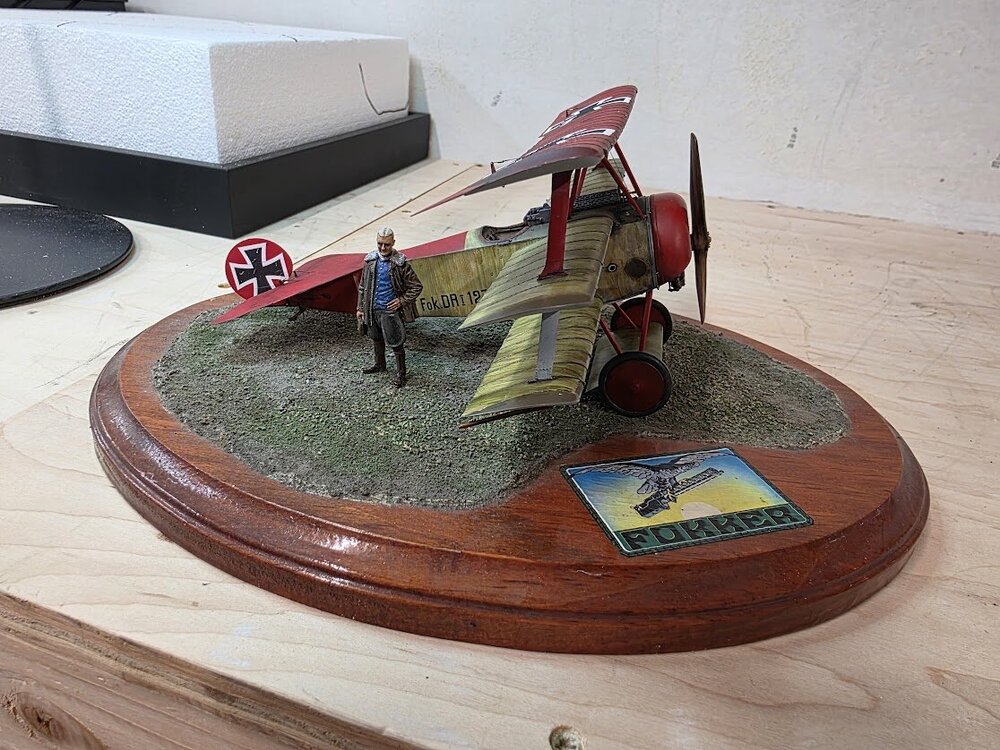
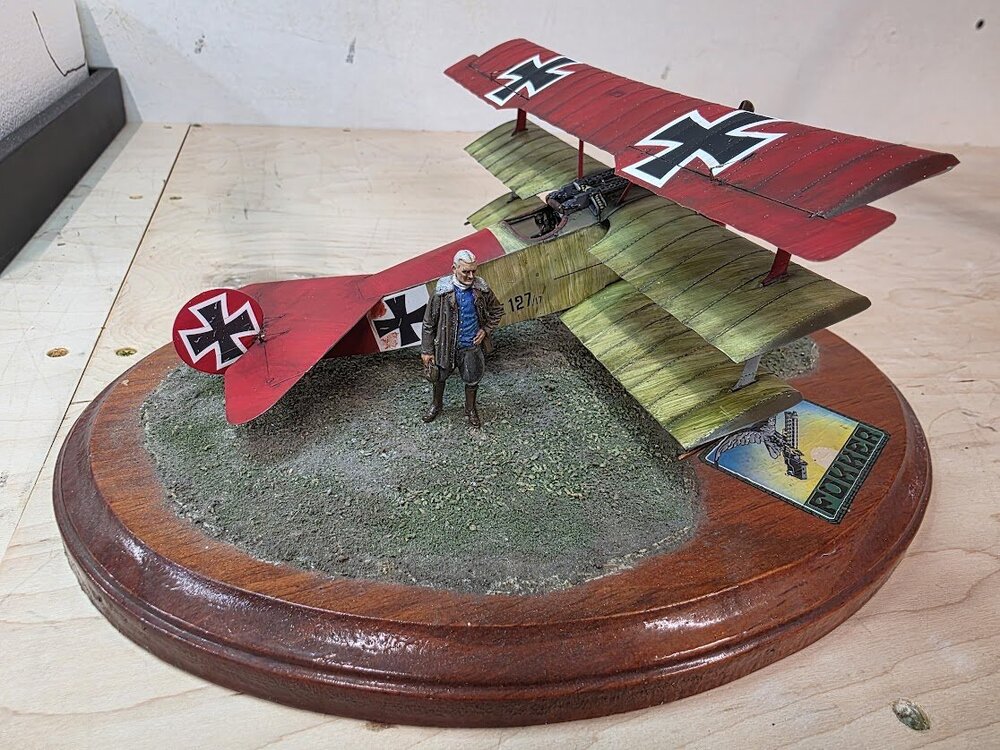
7 pointsI'm calling her done. I did have one more part to install, the foot step on the left side. It's been added since the photos, I only noticed after looking at the photos. That last shot is what I pictured years ago when I built the Albatros Dv. Reading back then at the active dates and logs of MVR I saw no reason these and others of the Barons red planes existed at the same time and on the same field. Granted probably not park so closely like this but it's my build so yeah. Really enjoyed the Ming Dr1 and will likely do it again. Only issues I had were self inflicted. I didn't test fit the upper wing enough before I committed to glue.
 7 points
-
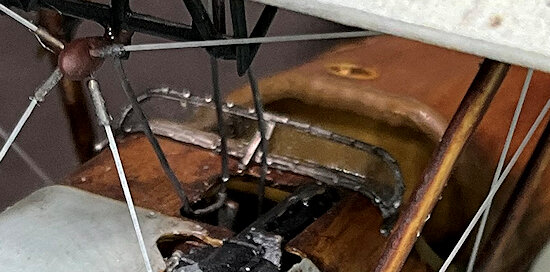
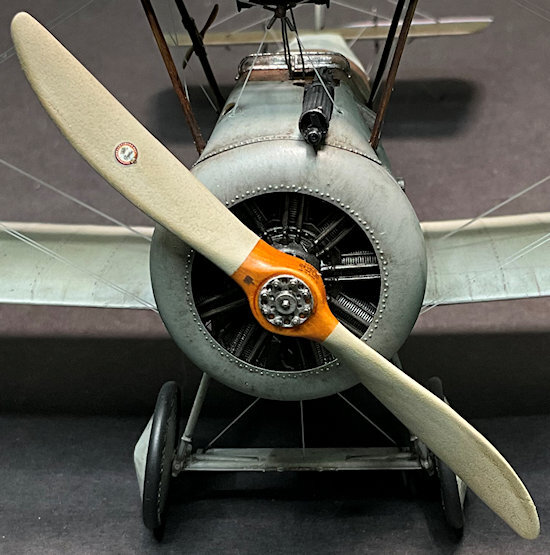
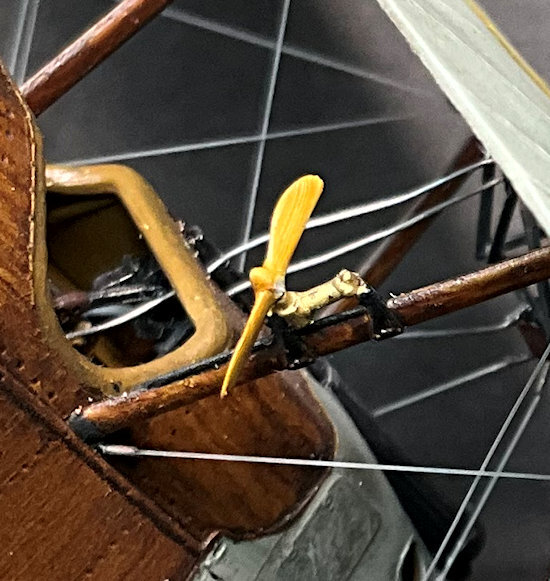
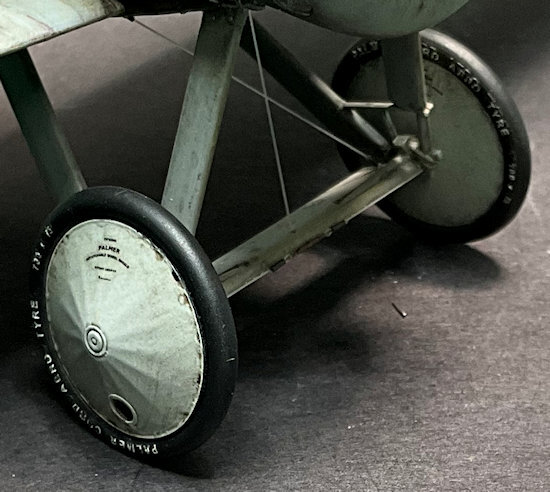
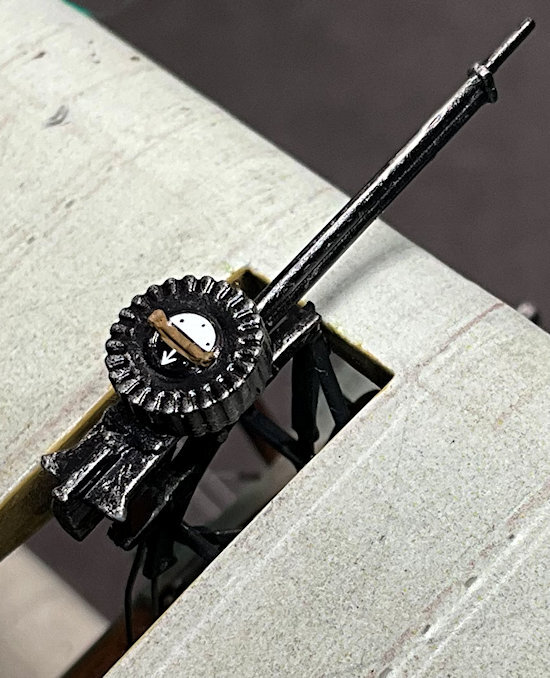
4 pointsHi all, Last few bits added. Just the aileron control inspection windows to add now, Mike

 4 points
-
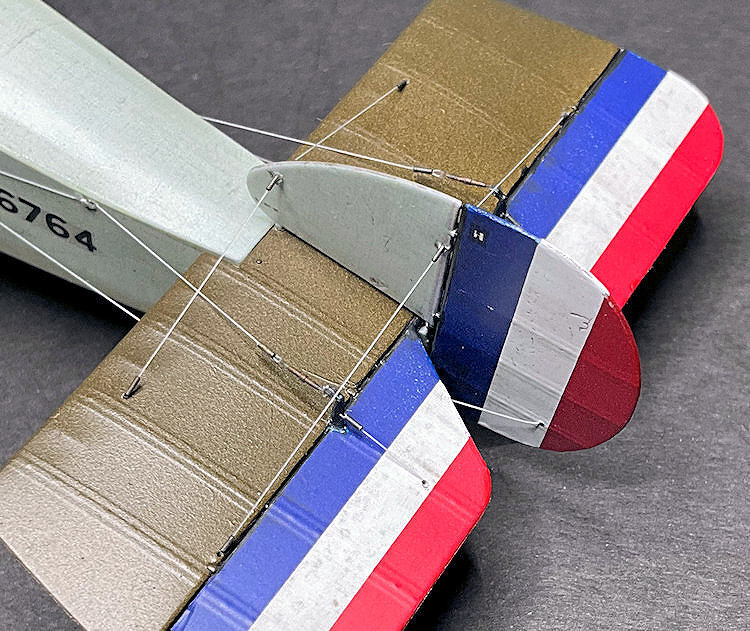
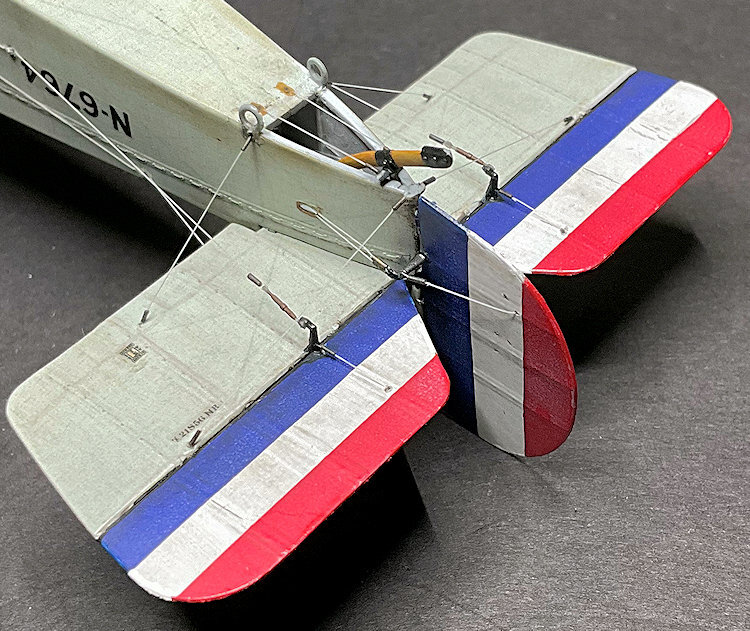
4 pointsHi all, The final bit of rigging is completed. The fin/tailplane bracing wires. Again 0.08 mm diameter mono-filament with 0.4 and 0.5 mm diameter tubes. Now its onto the last few bits to fit: Lewis machine gun and operating cables. 'Rotherham' pump propeller. Windscreen. Propeller. Wheels. Fuselage joint fasteners. Mike
 4 points
-
3 points
-
3 pointsNice work MP! I did a 1/48 Fokker on the ole forum with the steaks used oils.😉3 points
-
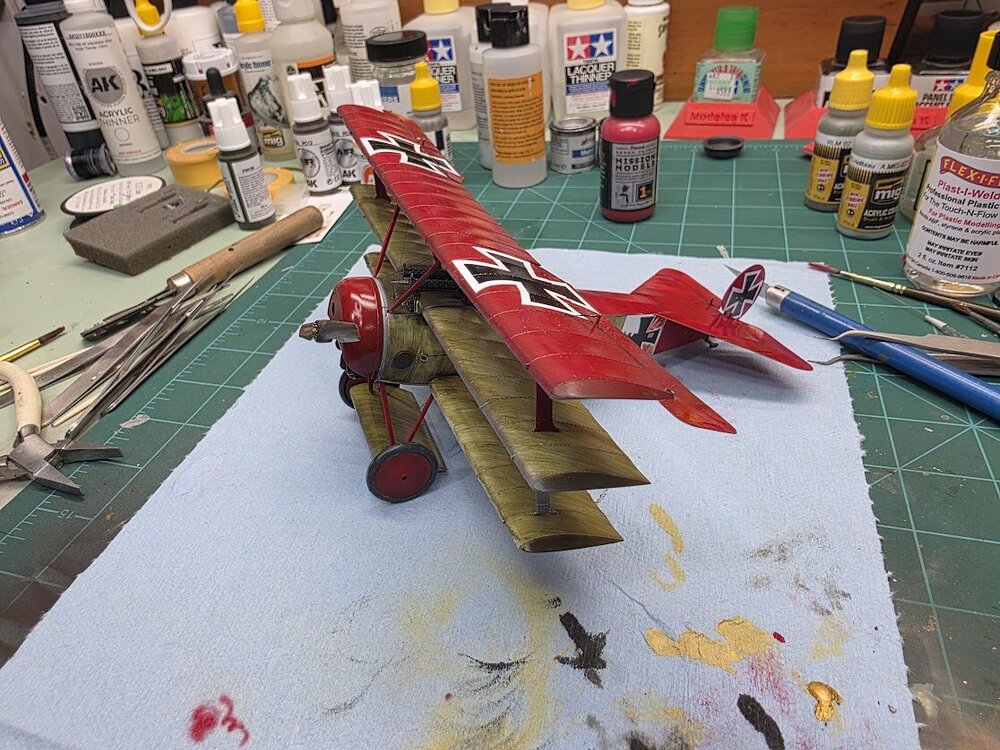
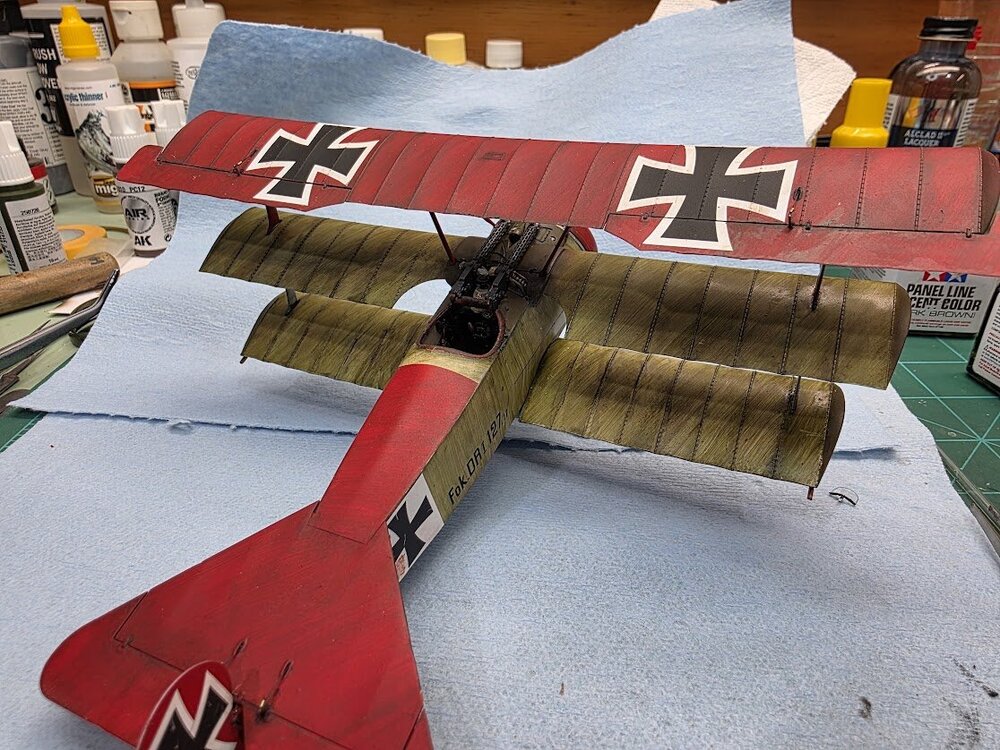
3 pointsSorry I haven't updated here lately. Crazy busy. Here's some progress shots. Got the top wing fitted Got her up on the wheels then a pin wash over the ribs. Then a flat coat. I'm leaving the cowl shinny. I really don't know what happened with that right aileron Next up a splash of mud and spatter of oil and I think I'm callin' it.

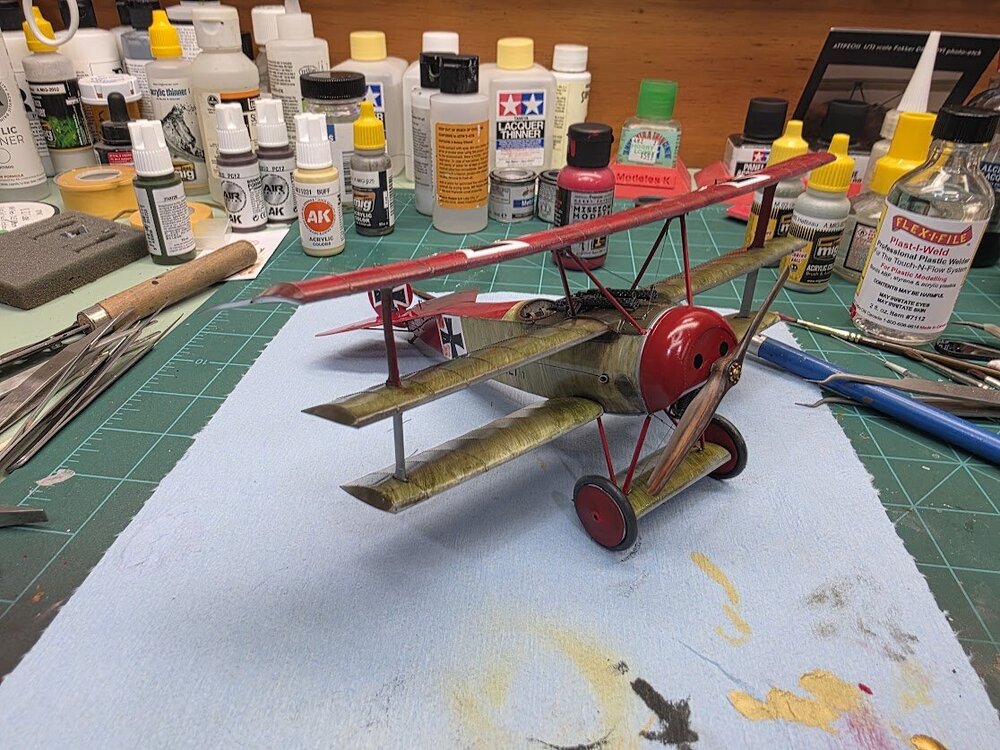
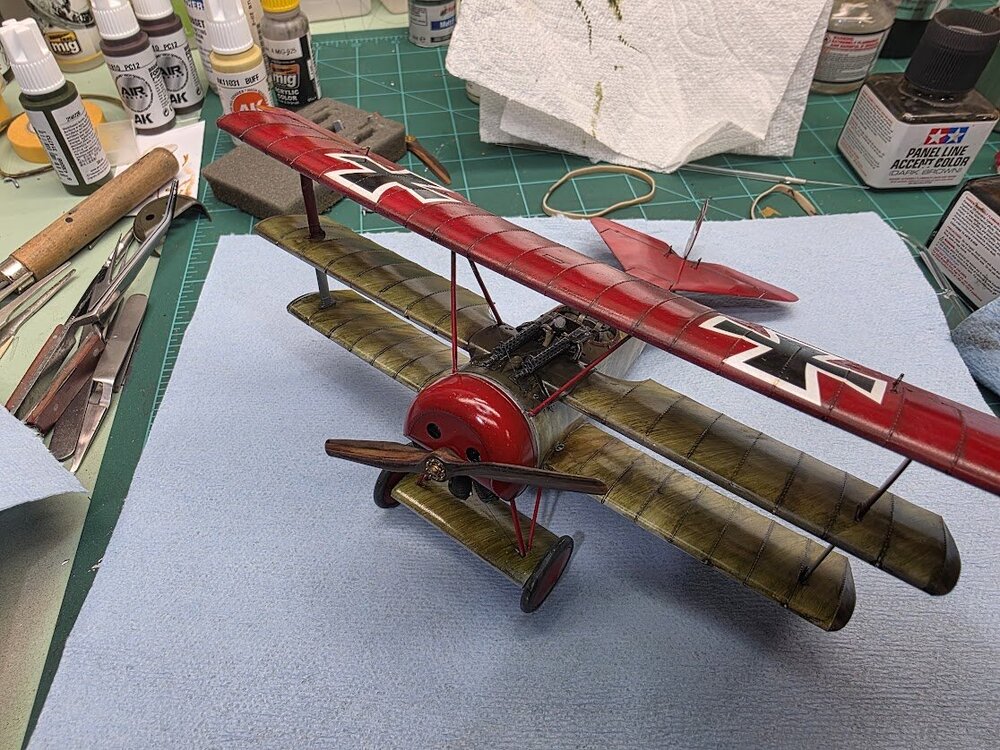
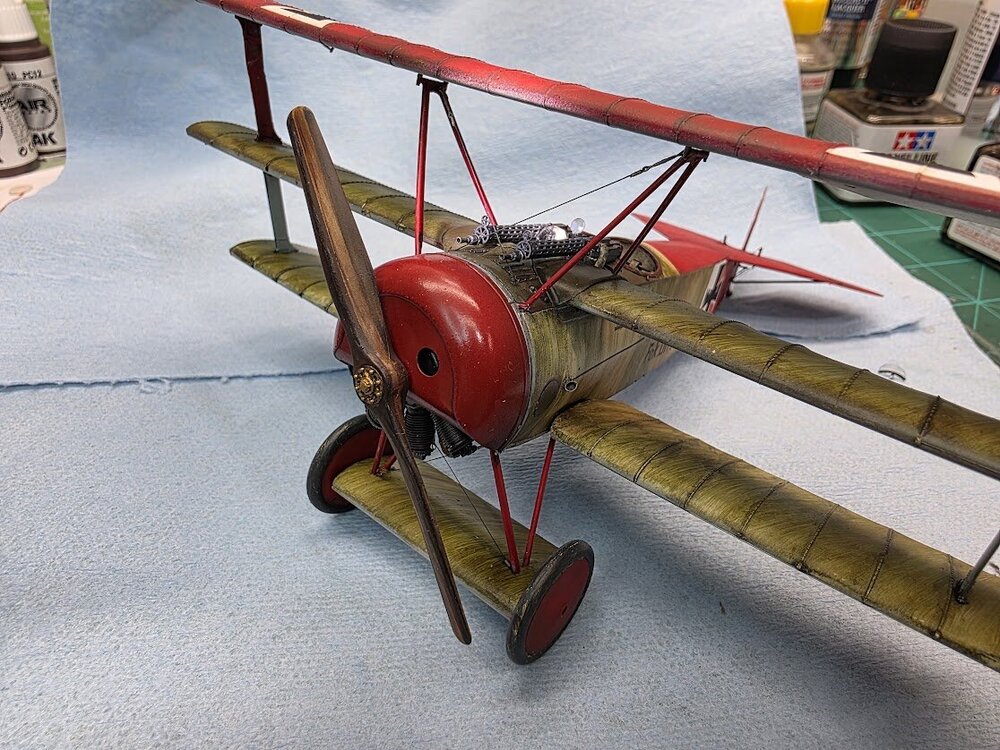
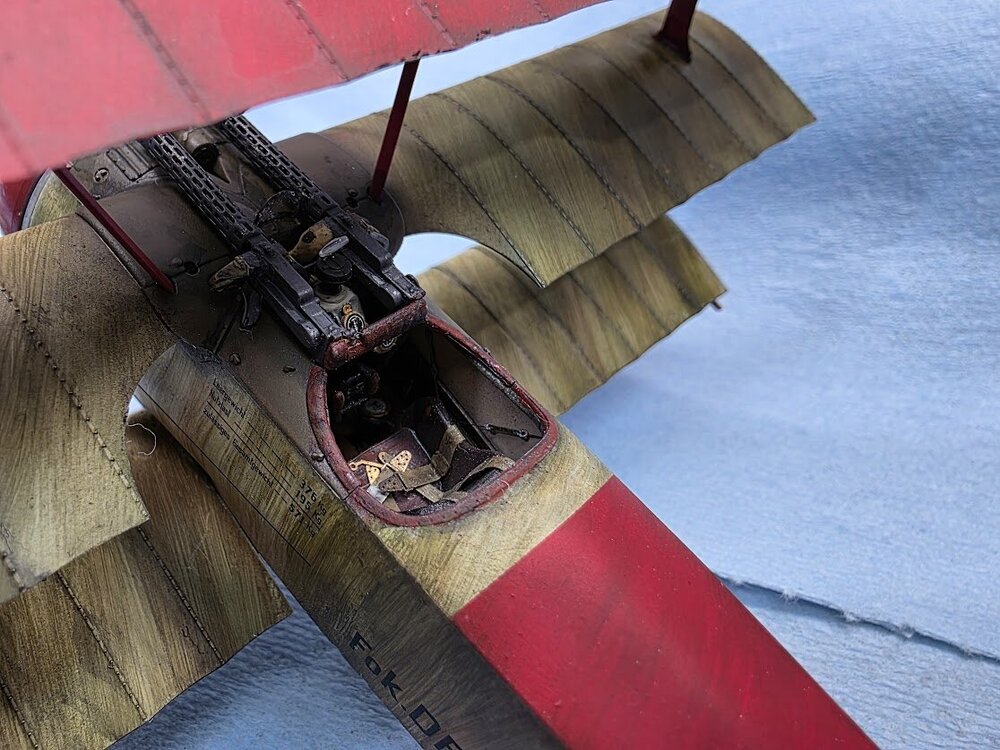

 3 points
-
Thanks for your feedback! thanks ! and today's update! It's all about decals ! The ICM decals feature very good definition and shape fidelity. On the decal sheet, they appear slightly thick, and this characteristic can sometimes make application more difficult. I started by trimming the carrier film as closely as possible in order to minimize the silvering effect once the decals were applied to the model's surface. The decals react well to water, showing no resistance when being released from the backing paper and transferred onto the model. The whole process was smooth and straightforward. The registration letters (P-EA) were trimmed to the minimum amount of carrier film possible in order to reduce any potential silvering. Applying them with Micro Set makes repositioning much easier. Once I felt the decal was correctly aligned, I gently rolled a cotton bud over it to remove any trapped water or Micro Set beneath the decal. Overall, the final result was very positive and stress-free, as the decals have enough flexibility to conform to the model's surface details, whether rivet lines or panel lines. The use of Micro Sol after application helps soften the decals and allows them to settle more easily into the surface detail. Some decals were applied with the carrier film intact and, after application, no silvering was visible. From my visual inspection, they appear to be perfectly integrated into the model's surface. In this case, the combination of Micro Set and a glossy surface greatly helps to eliminate this tendency. One point worth mentioning concerns the fuselage roundels. In my opinion, they are slightly translucent, which is particularly noticeable in the yellow and white areas of the roundel. However, this is by no means a serious issue or something that would make me immediately consider using an aftermarket decal sheet. If suitable replacement decals are already available in the spares box, then all the better. If not, these are perfectly acceptable. For now, I have left the decals to settle under a coat of DACO decal softening solution. Tomorrow I will return to the project and continue with the stencil decals on the underside of the model. thanks for watching!


 2 points
-
2 pointsI´m not Mike, but the mono-filament adds definitely to the strength of the model. I built the huge AEG G.IV and it made the wings very rigid. I loop the thread through an aluminum tube, then through the eylet, which I CAed into the wing or fuselage and again through the burr free aluminum tube. Then I tauten the thread with a pair of tweezers and if you choose the correct diameter of tube and mono filament, it is self securing. Get that done with all the other rigging lines, check for slackening lines and if there are none, add a tiny drop of CA to the aluminum tube for securing the thread, job done. Cheers Rob2 points
-
2 pointsMike do you find using the mono-filament gives extra stability to the model? My problem with using the rigid stuff over elastic material is when you get one line tightened another may go slack. With my club hands I usually ended up burning a line trying to heat it up to make it tight again.2 points
-
2 points
-
2 points
-
2 points
-
2 pointsGreat work and thank you for the clear instructions on the rigging.2 points
-
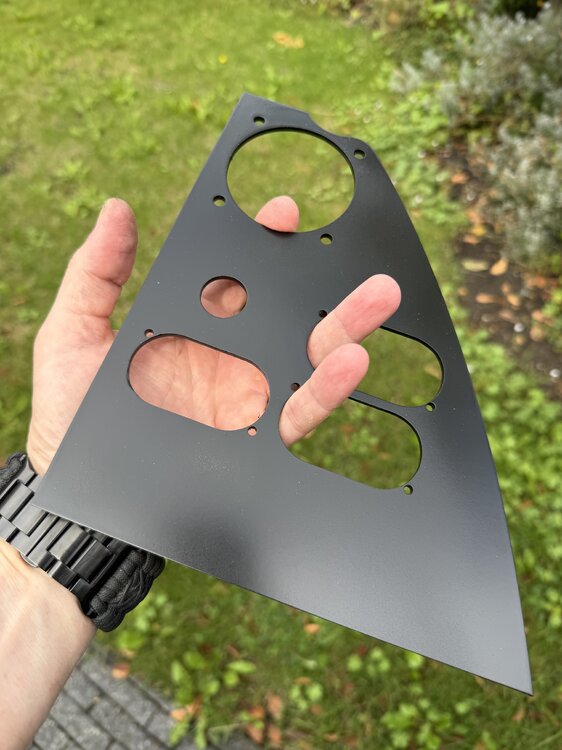
2 pointsEnlarged some holes with a dremel and sprayed the panel. Working on the base now.
 2 points
-
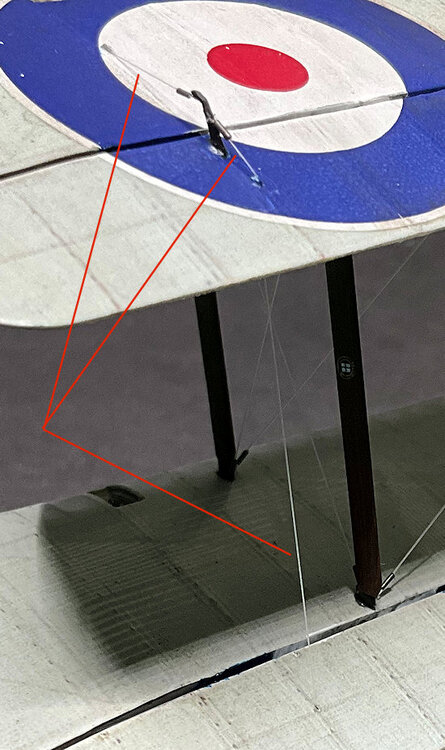
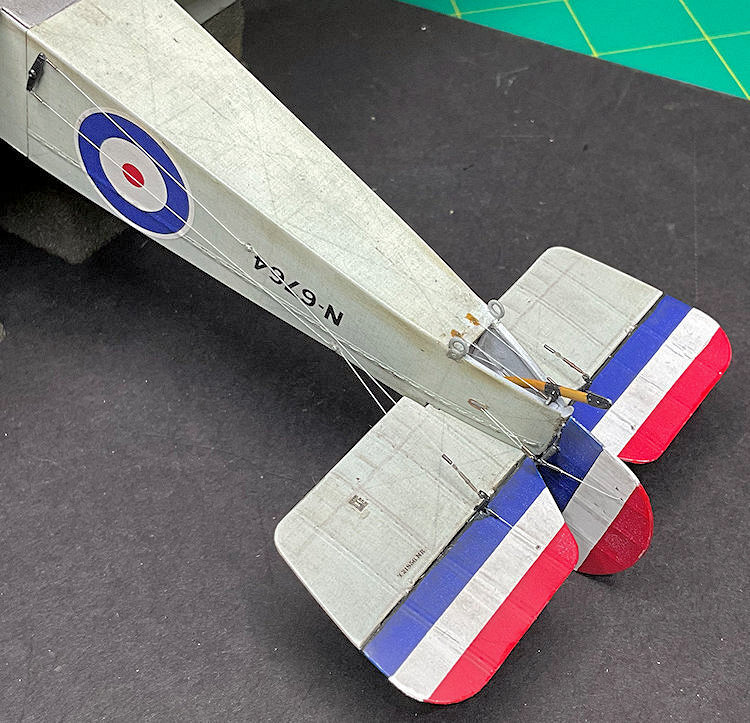
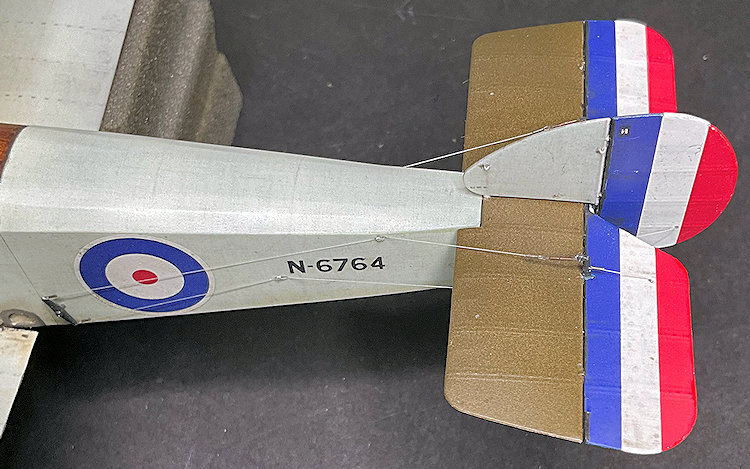
2 pointsHi all, The aileron, elevator, rudder and tail skid control cables have been rigged. Just the fin bracing wires to add now, Mike
 2 points
-
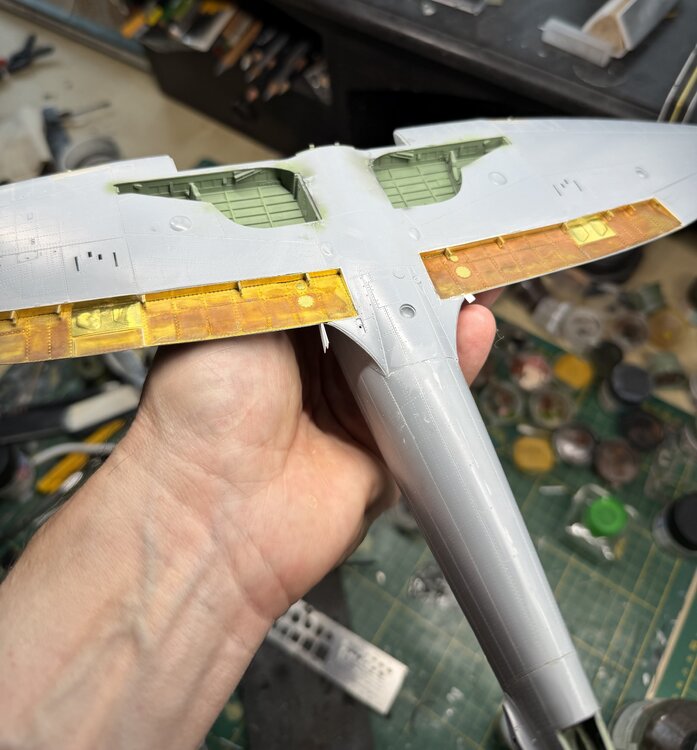
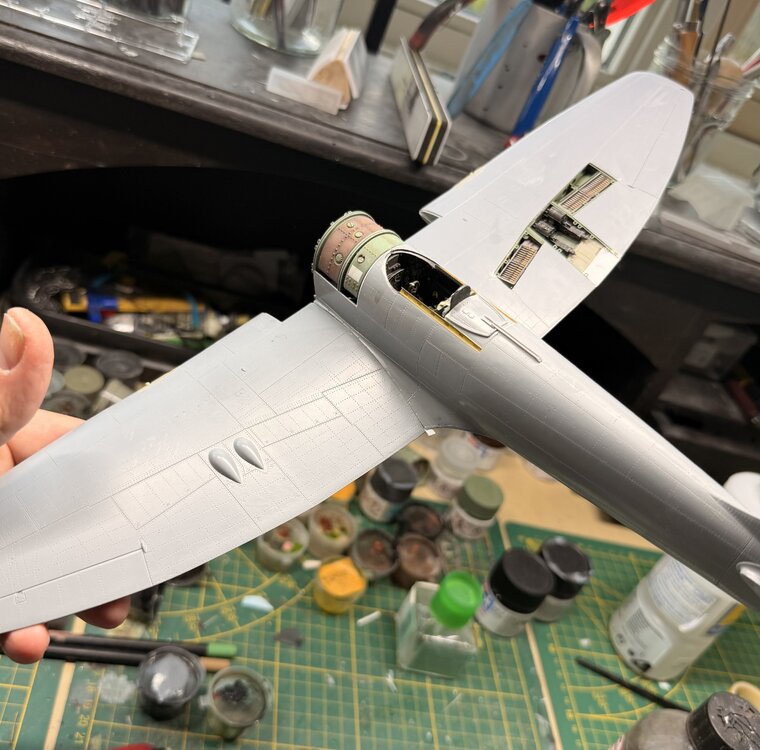
2 pointsTook some careful sanding and dryfitting but the wings are attached. Now to smooth it all out, cut the shims to size and Rescribe.
 2 points
-
1 pointHi Moon Puppy, Rob (Doc) gave good advice in that it definatly adds structural strength to the wings, landing and tail unit. Also it never frays, snaps or distorts. Admittedly, tightening slack lines using heat can be tricky and a steady hand is necessary. Personally I tend to rig each set of lines (cabane struts, then flying wires then landing wires etc) and heat tighten them as I go. I use a fairly small electric soldering iron to shrink slack lines. I've built over 60 1:32nd scale model to date and all are rigged with mono-filament Unlike photo-etch, stretched sprue or elastic lines, none have altered from finishing the build. Mike1 point
-
1 pointHi all, The RNAS pilot figure from Elan13 Miniatures (EL36). The inside of the coat tails is cast solid. I chose to drill it out and shape with a straight scalpel. Not that anyone will see it of course. That's the model completed apart from the display case. Then, as usual, I'll post shots. Once again, thanks for the encouraging comments and support throughout this build, Mike

 1 point
-
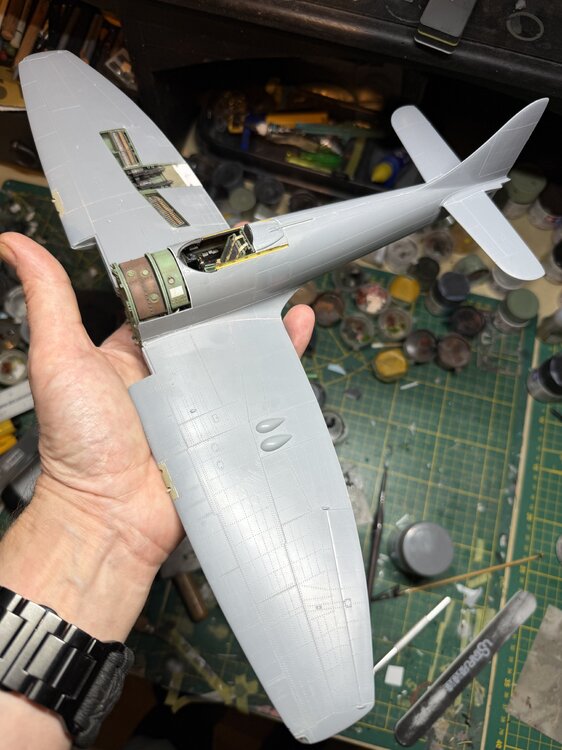
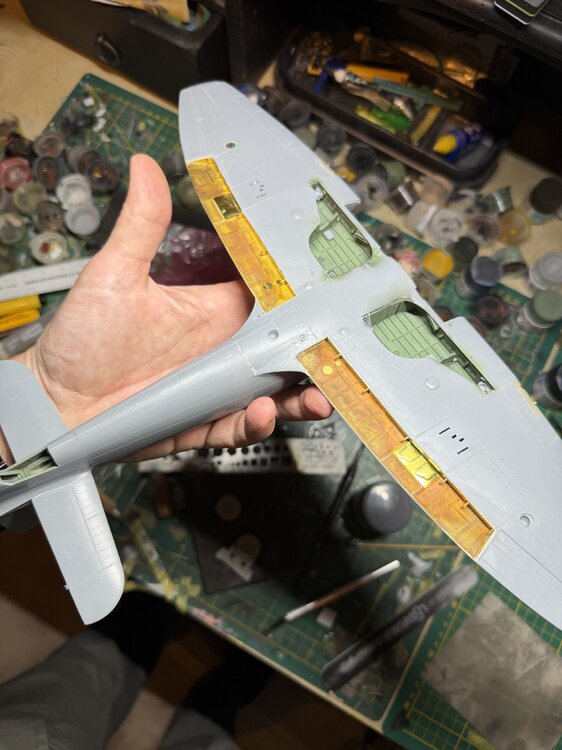
1 pointSpent this weekend removing seams and rescribing panel lines. Slowly getting there.
 1 point
-
1 pointThere you go. https://www.rctankwarfare.co.uk/forums/viewtopic.php?t=367381 point
-
1 point
-
1 point
-
1 pointThanks Martin, that base was built for an old Eindecker I had a while back. It didn't survive the move to our new house but I got one in the stash that's been talking to me lately. Kevin I think I'm going to use Acrylic based "oils" next time, I did one of the props in acrylics and they dry MUCH quicker.1 point
-
1 point
-
1 point
-
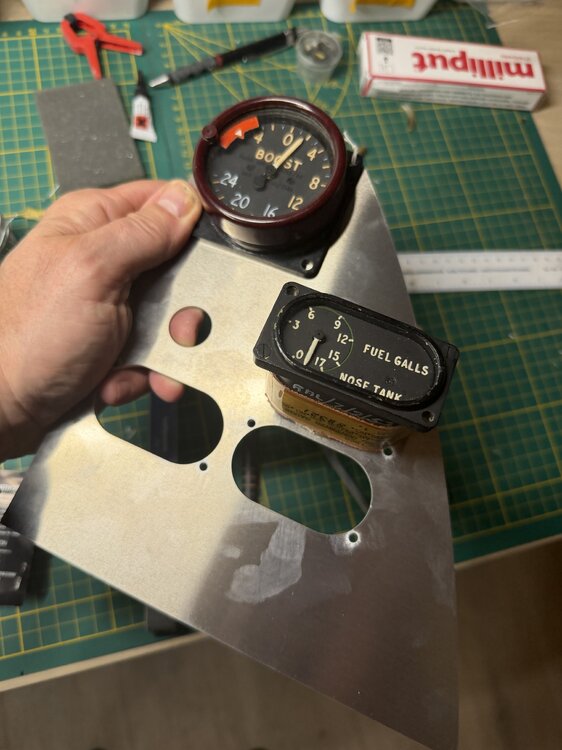
1 pointI had the alu panel laser cut but found i should widen the fuel gauges 1mm. Oops.
 1 point
-
Not too earth shattering but a much needed paint top up from Hannants and Resolution Hobbies for my next bout of plastic bashing. As usual I have labelled them for easy identification in their storage drawers. the big ones though do not fit in my normal storage drawers (30ml)
 1 point
-
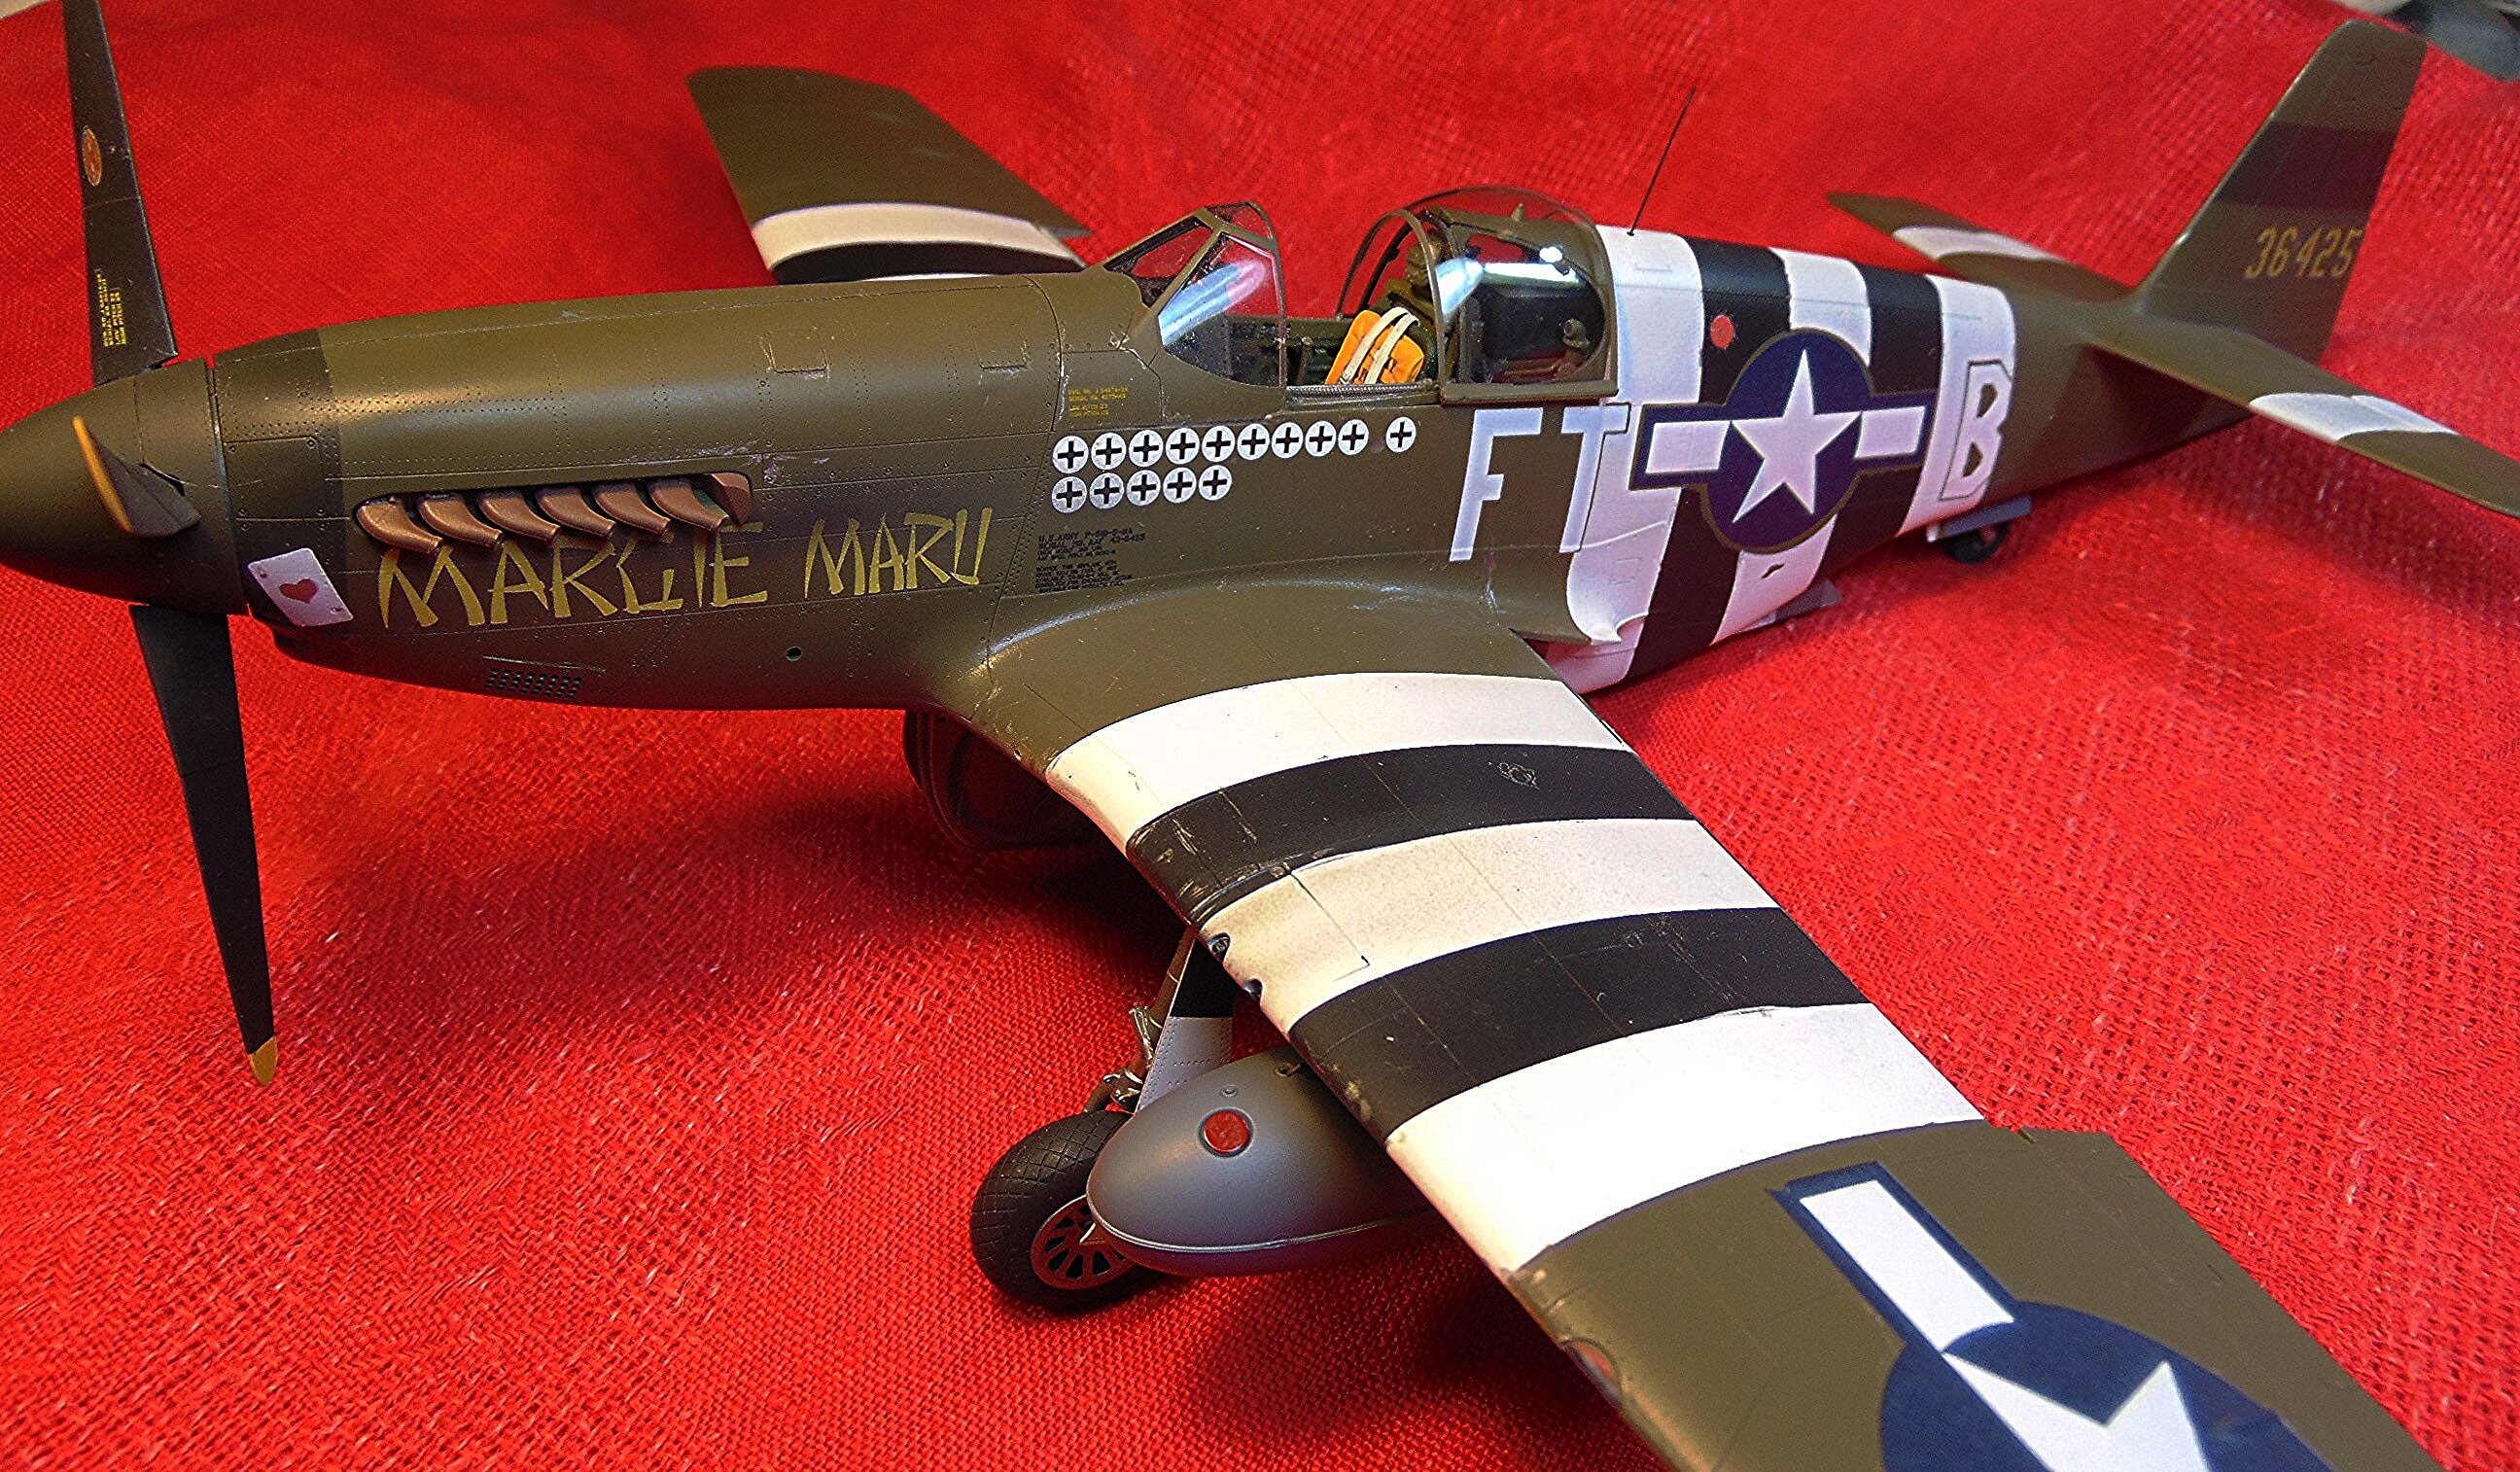
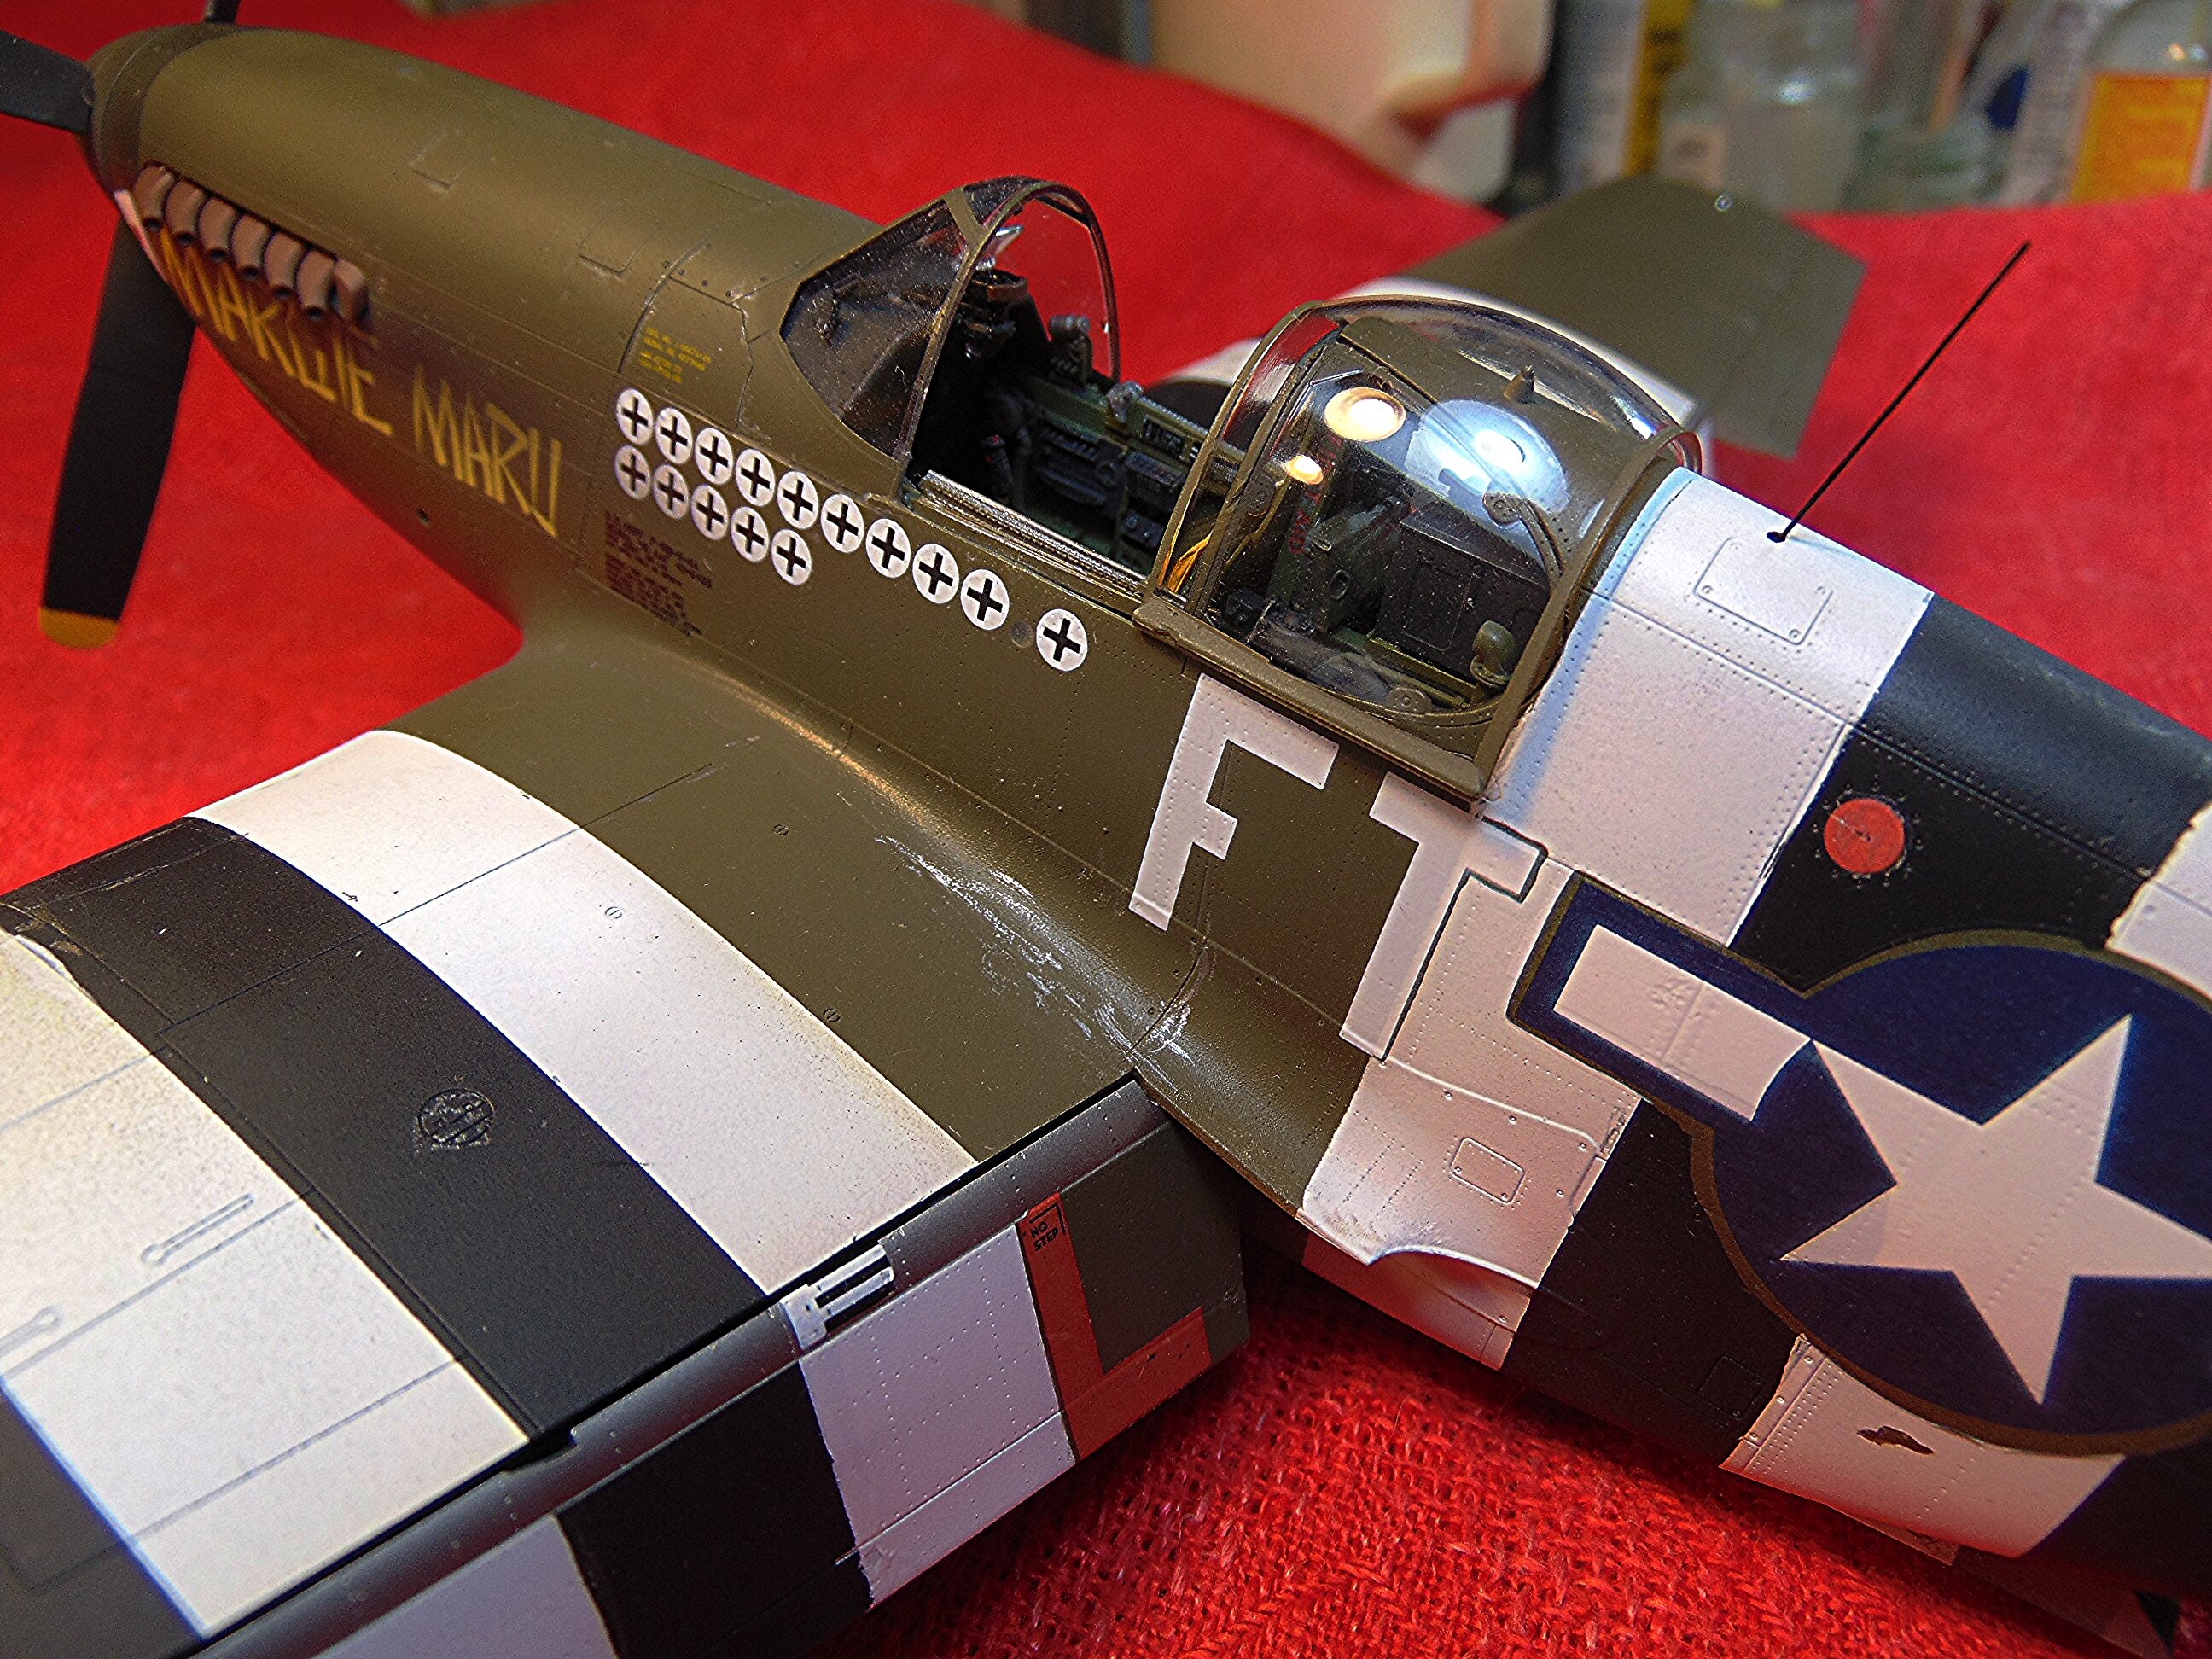
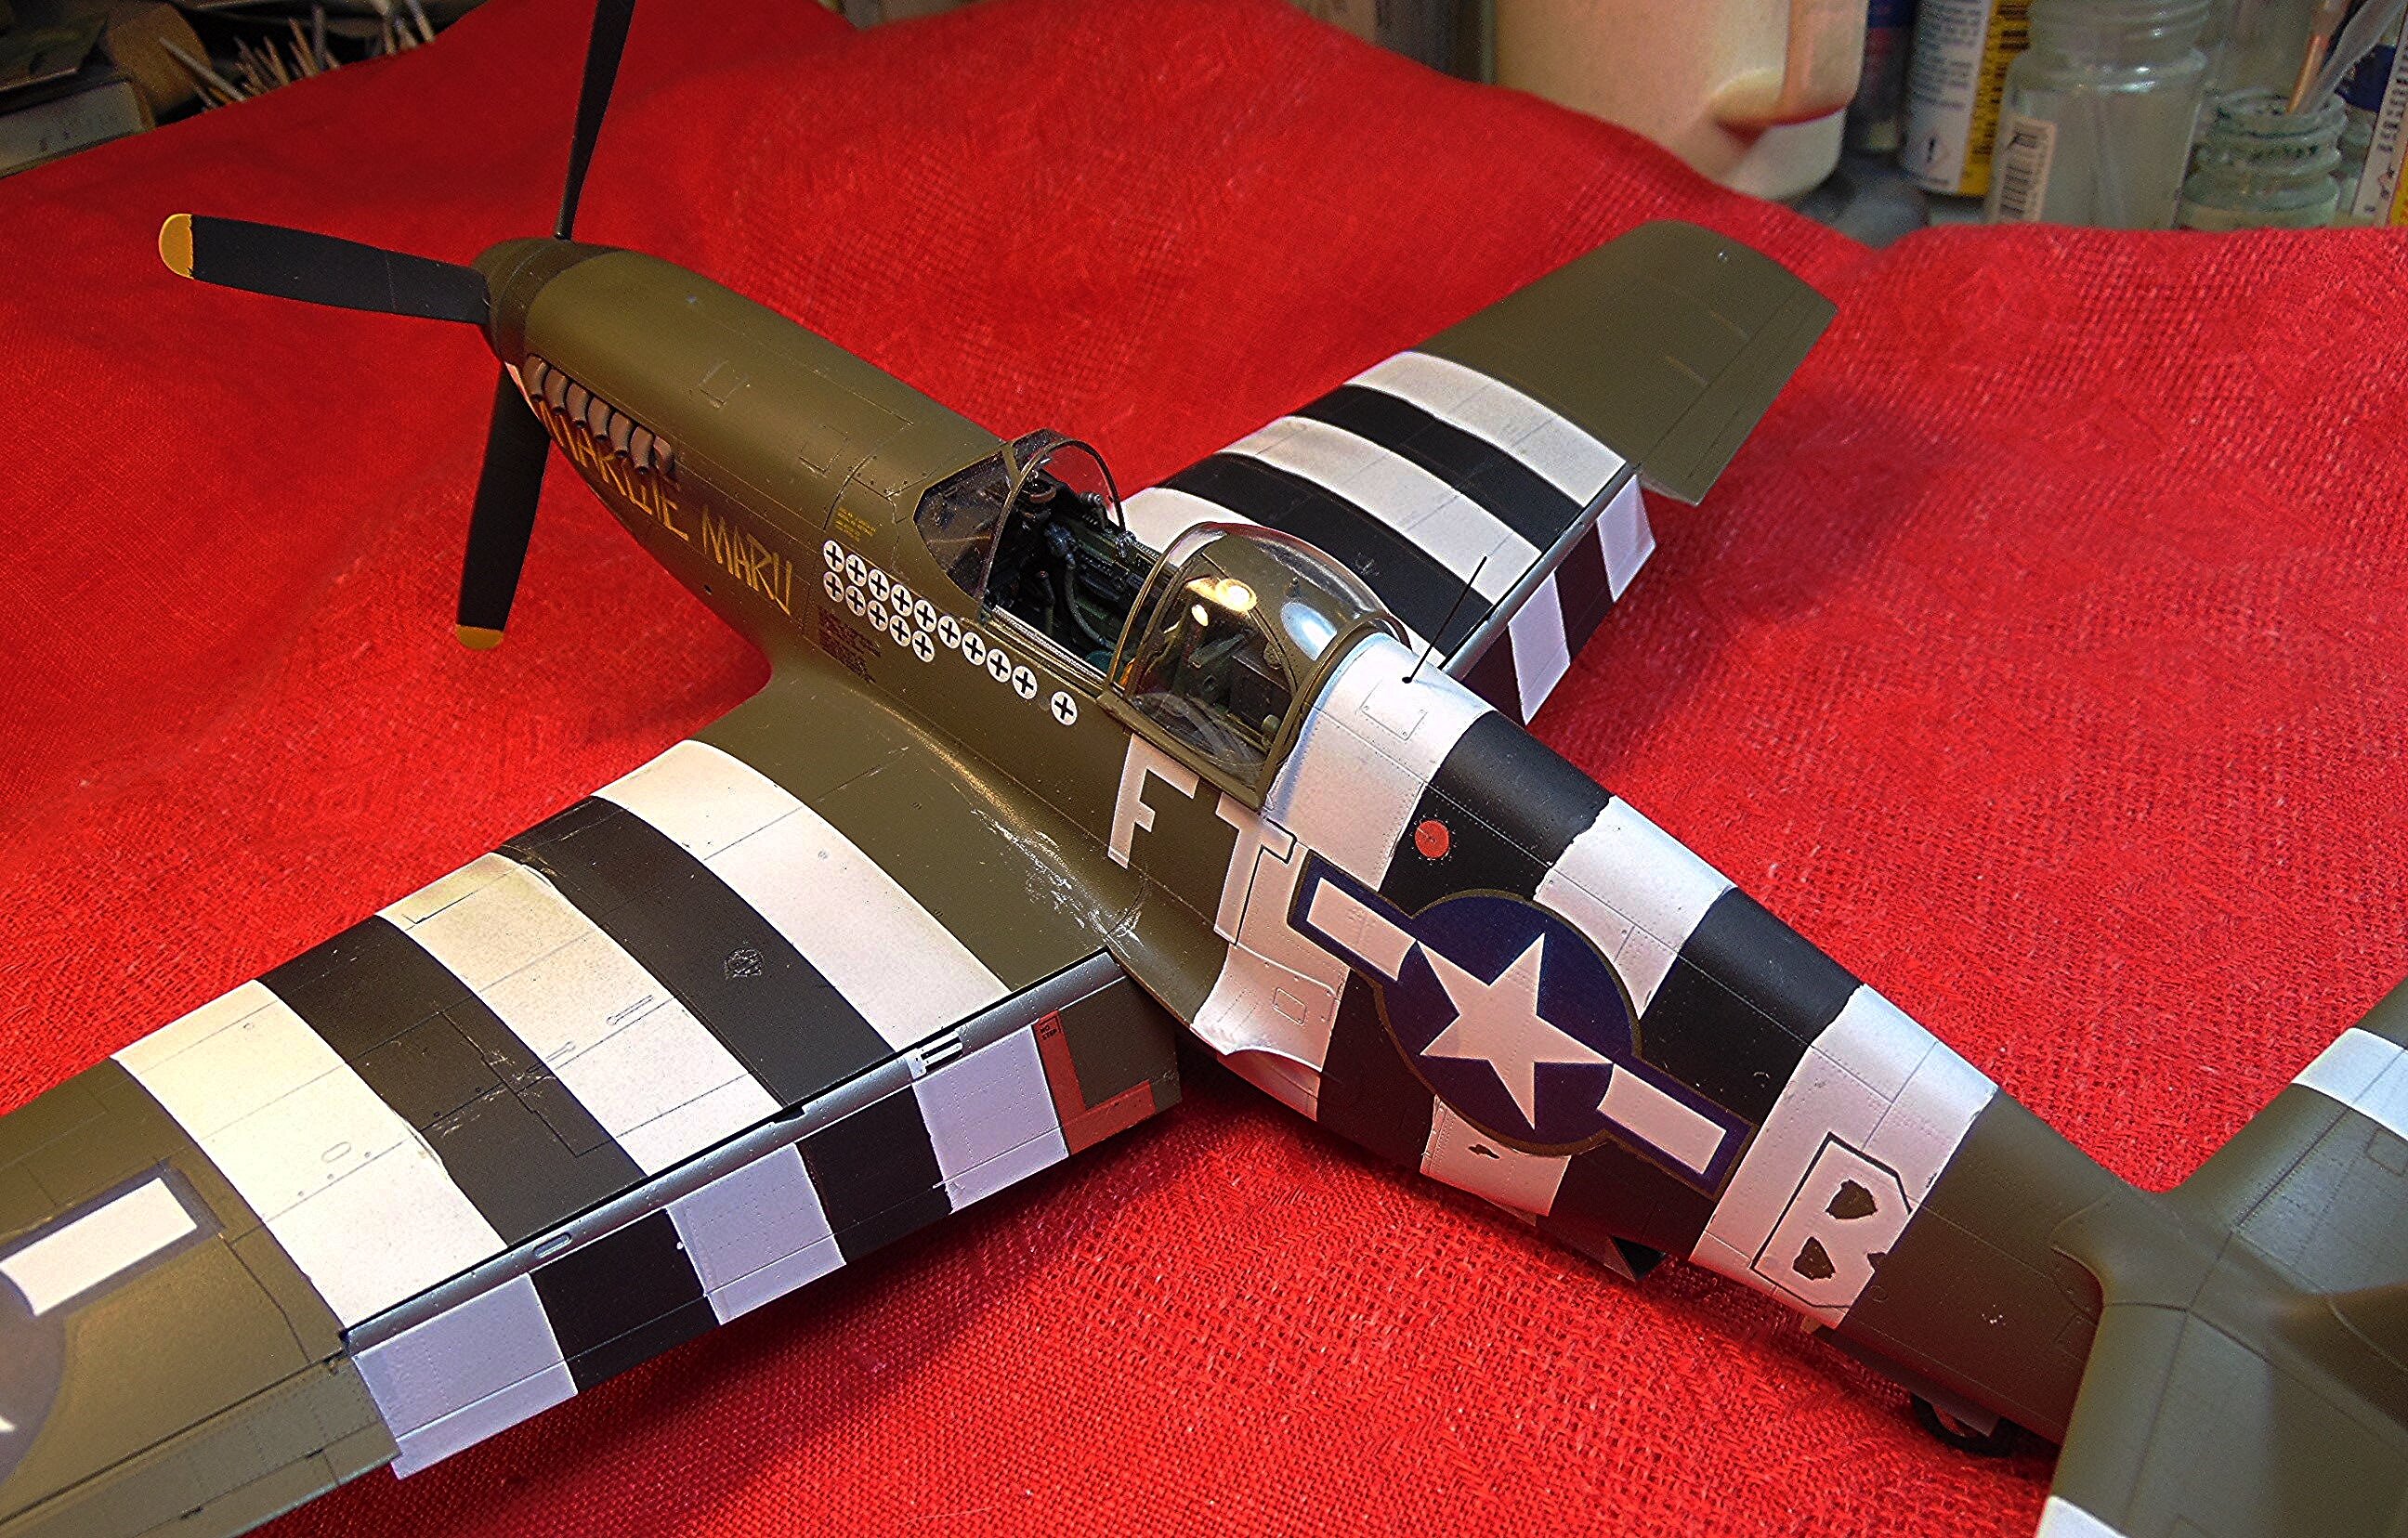
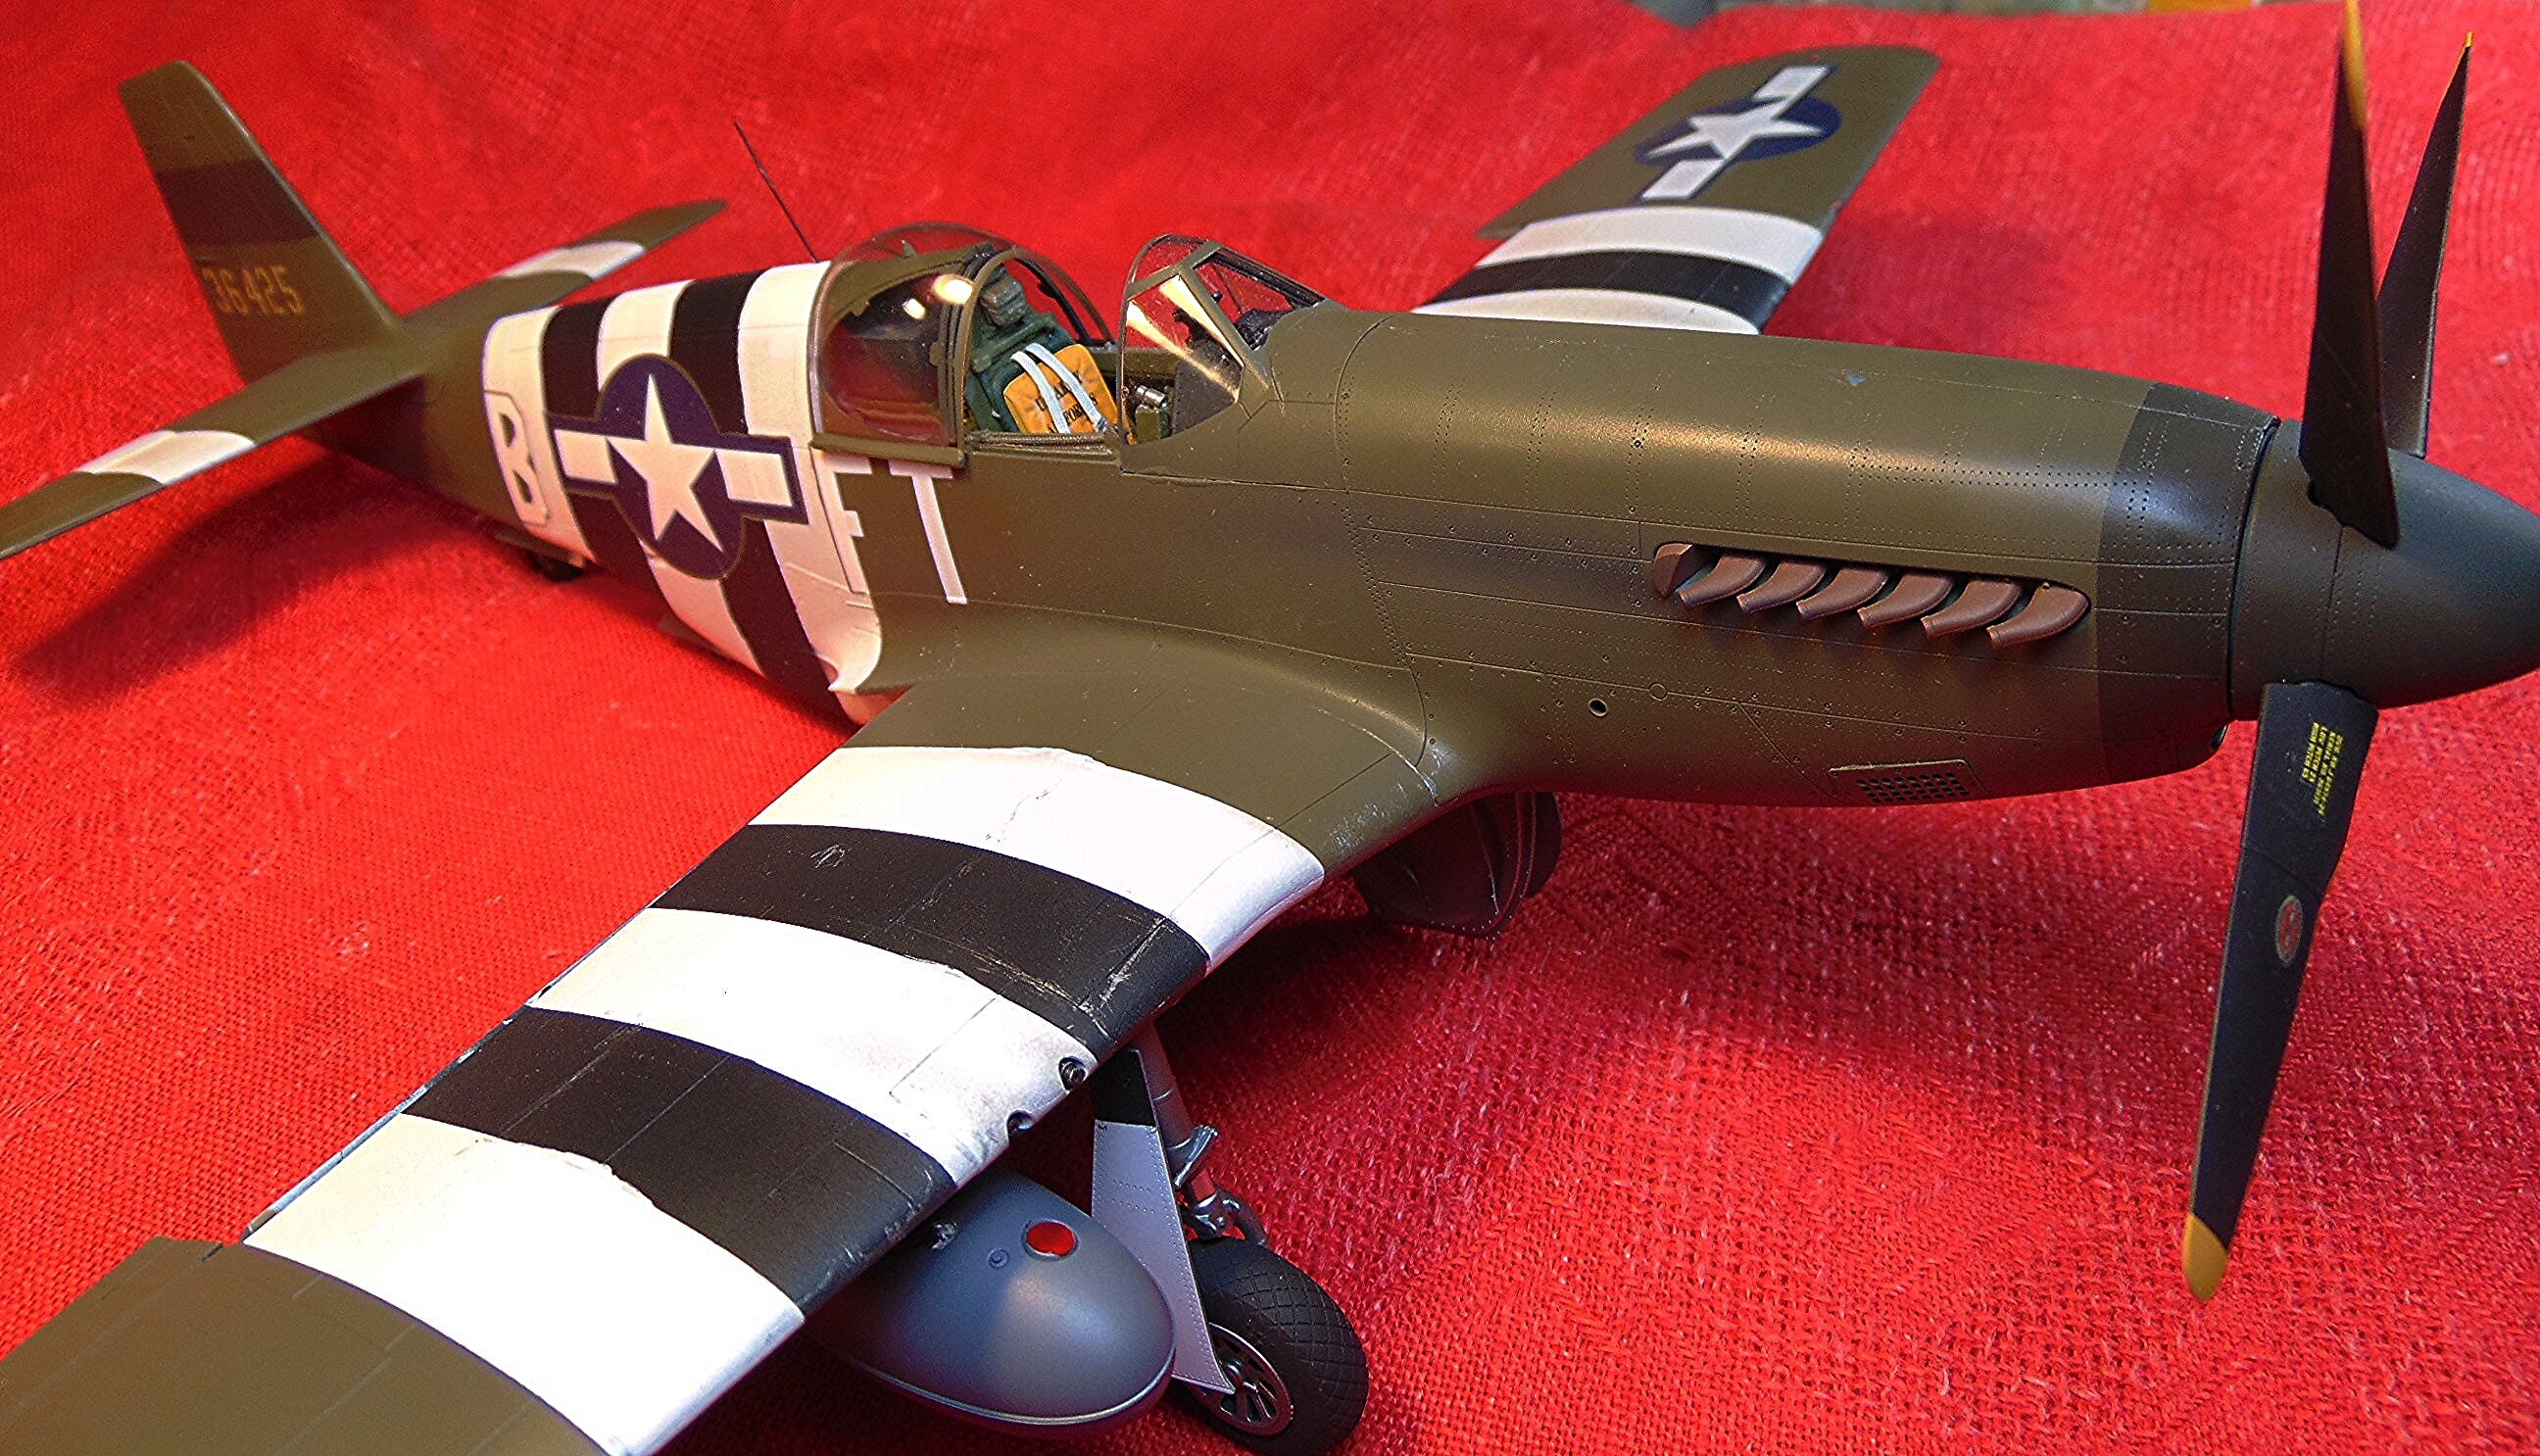
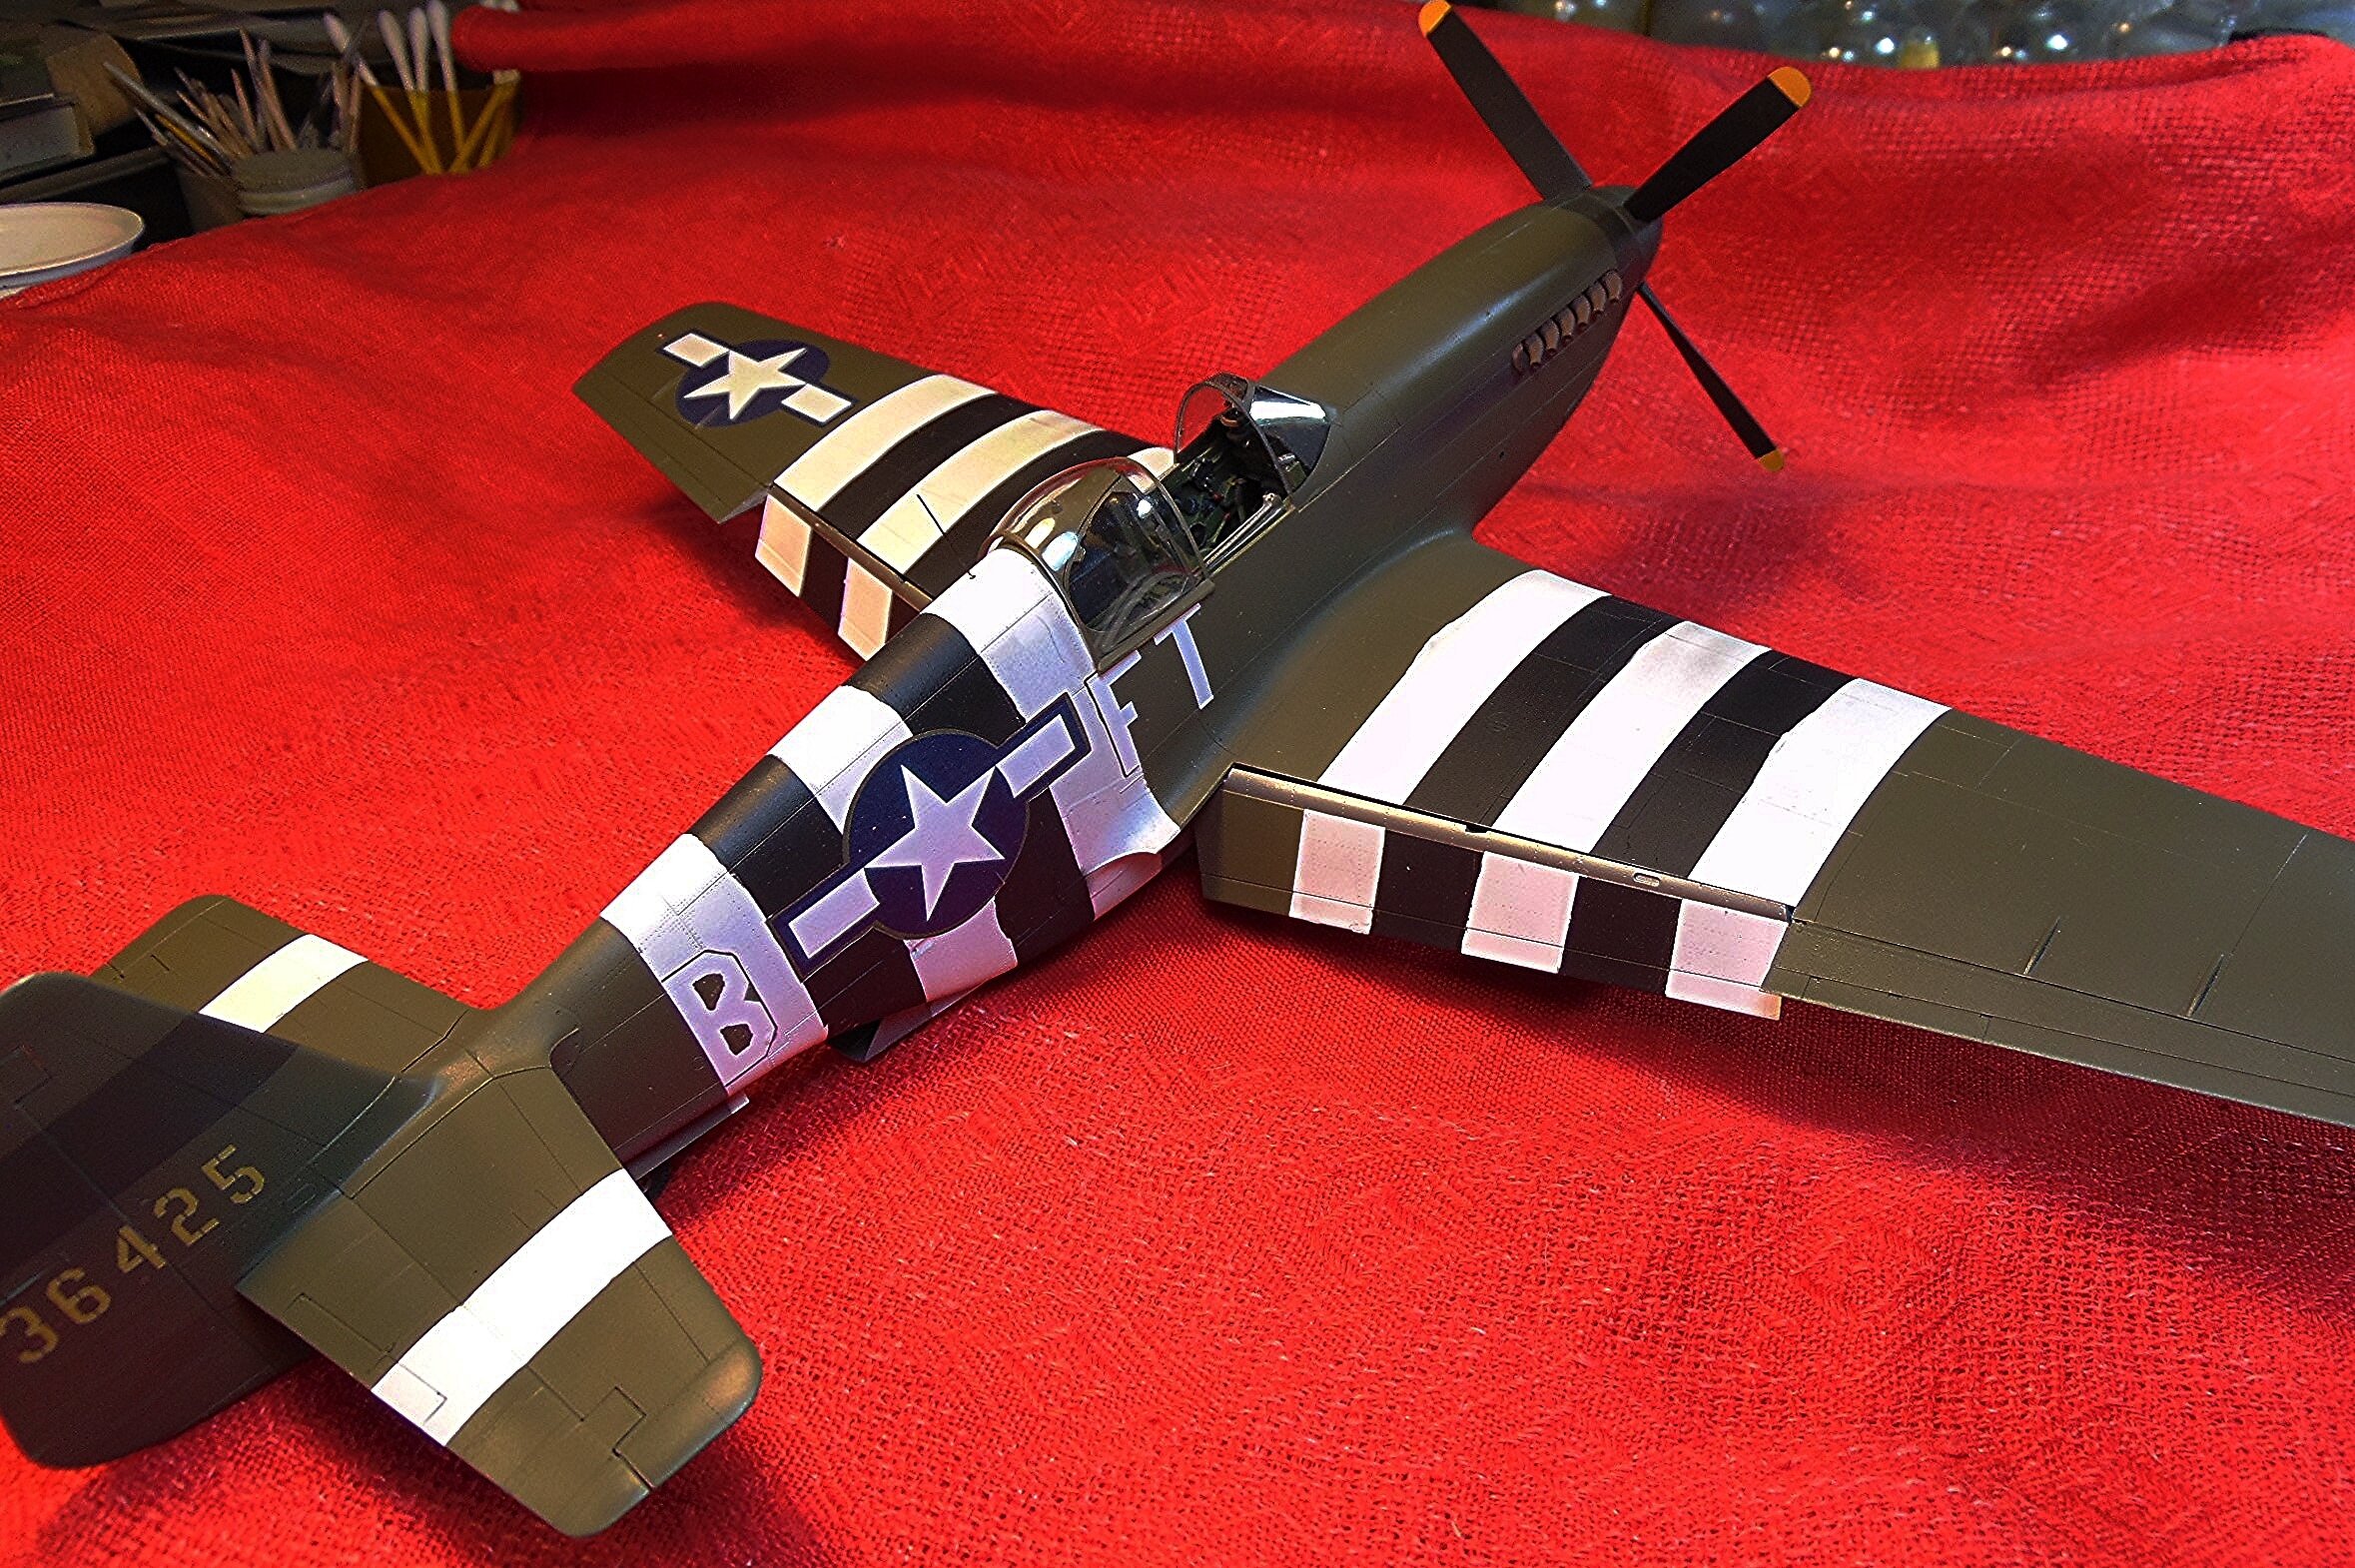
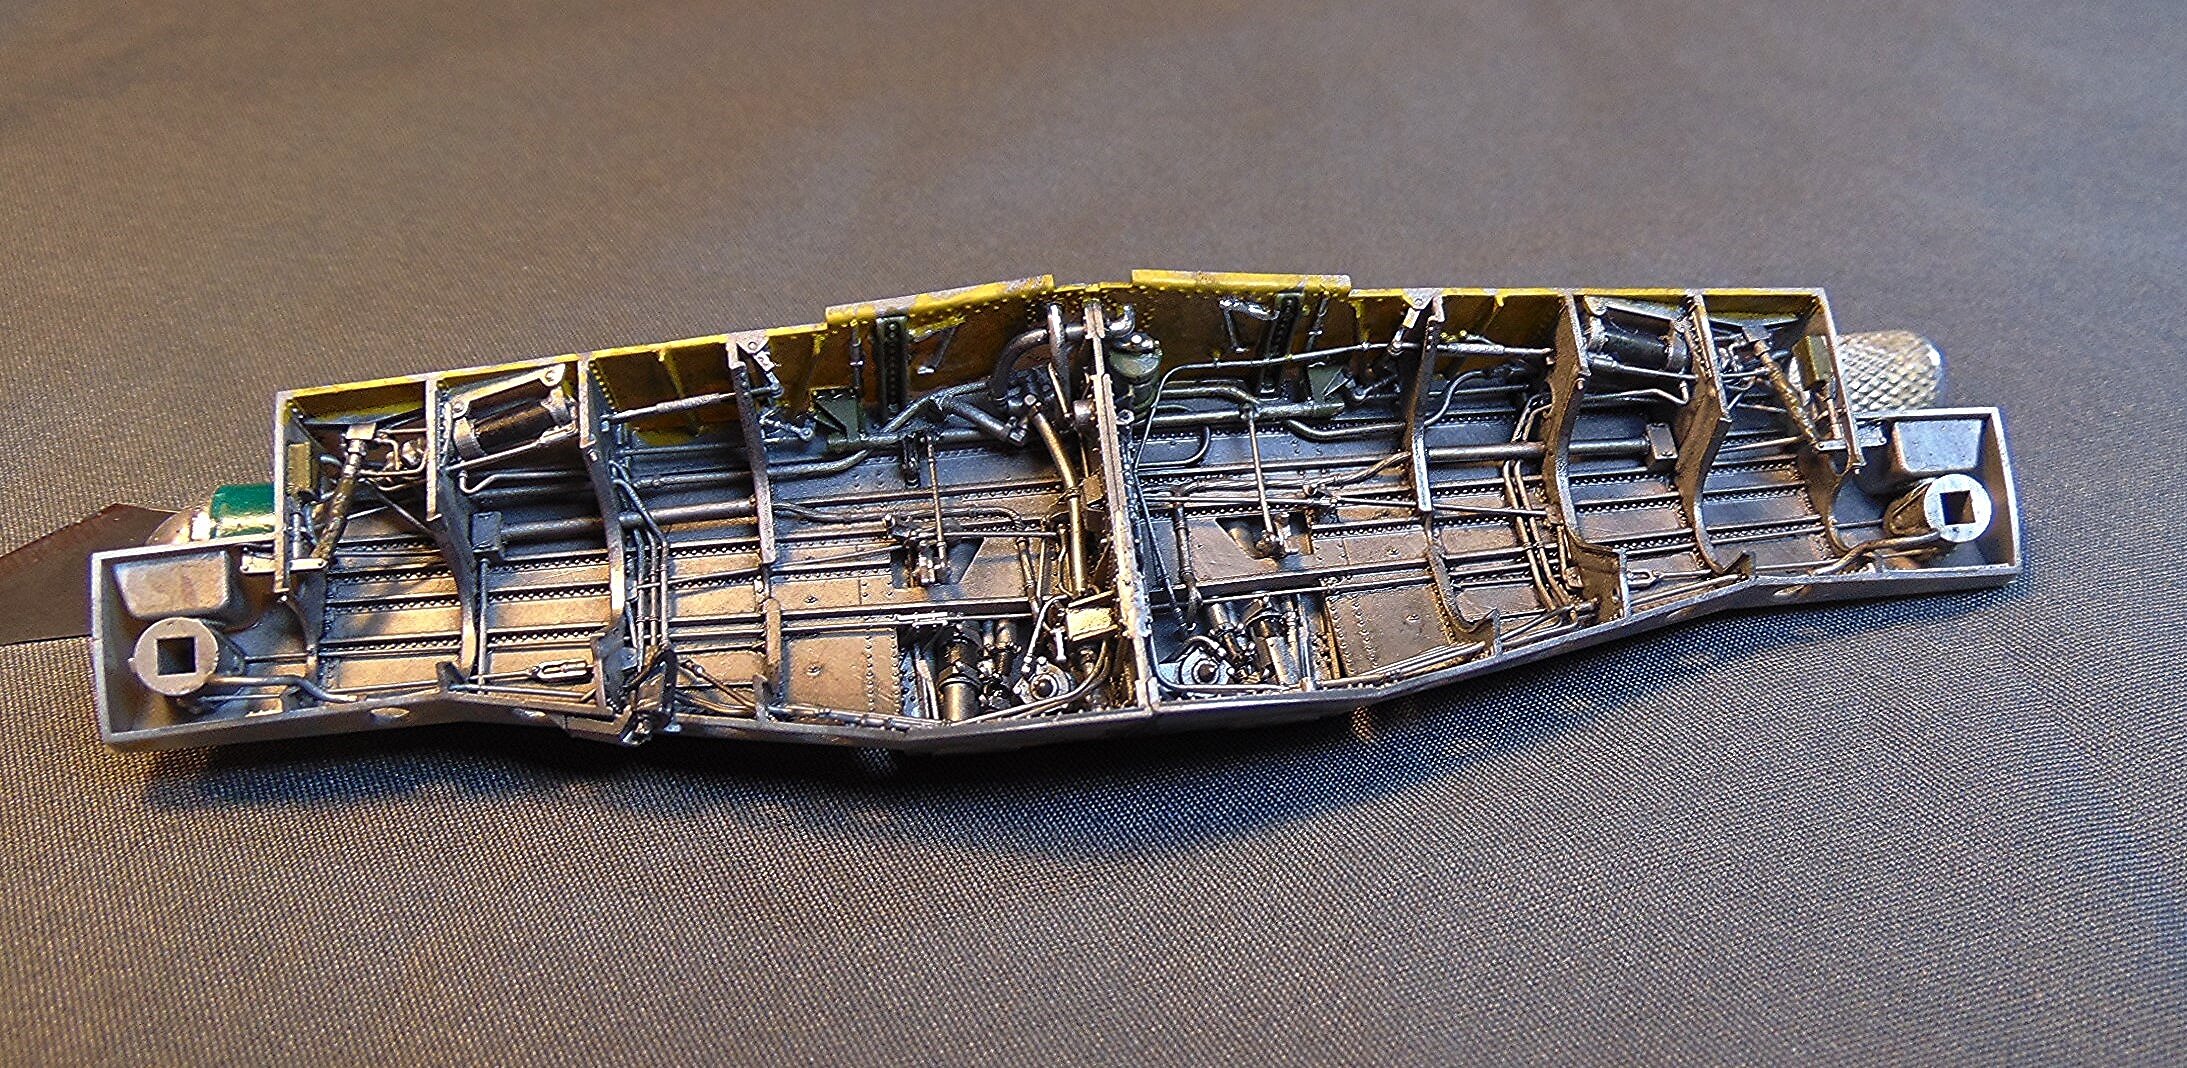
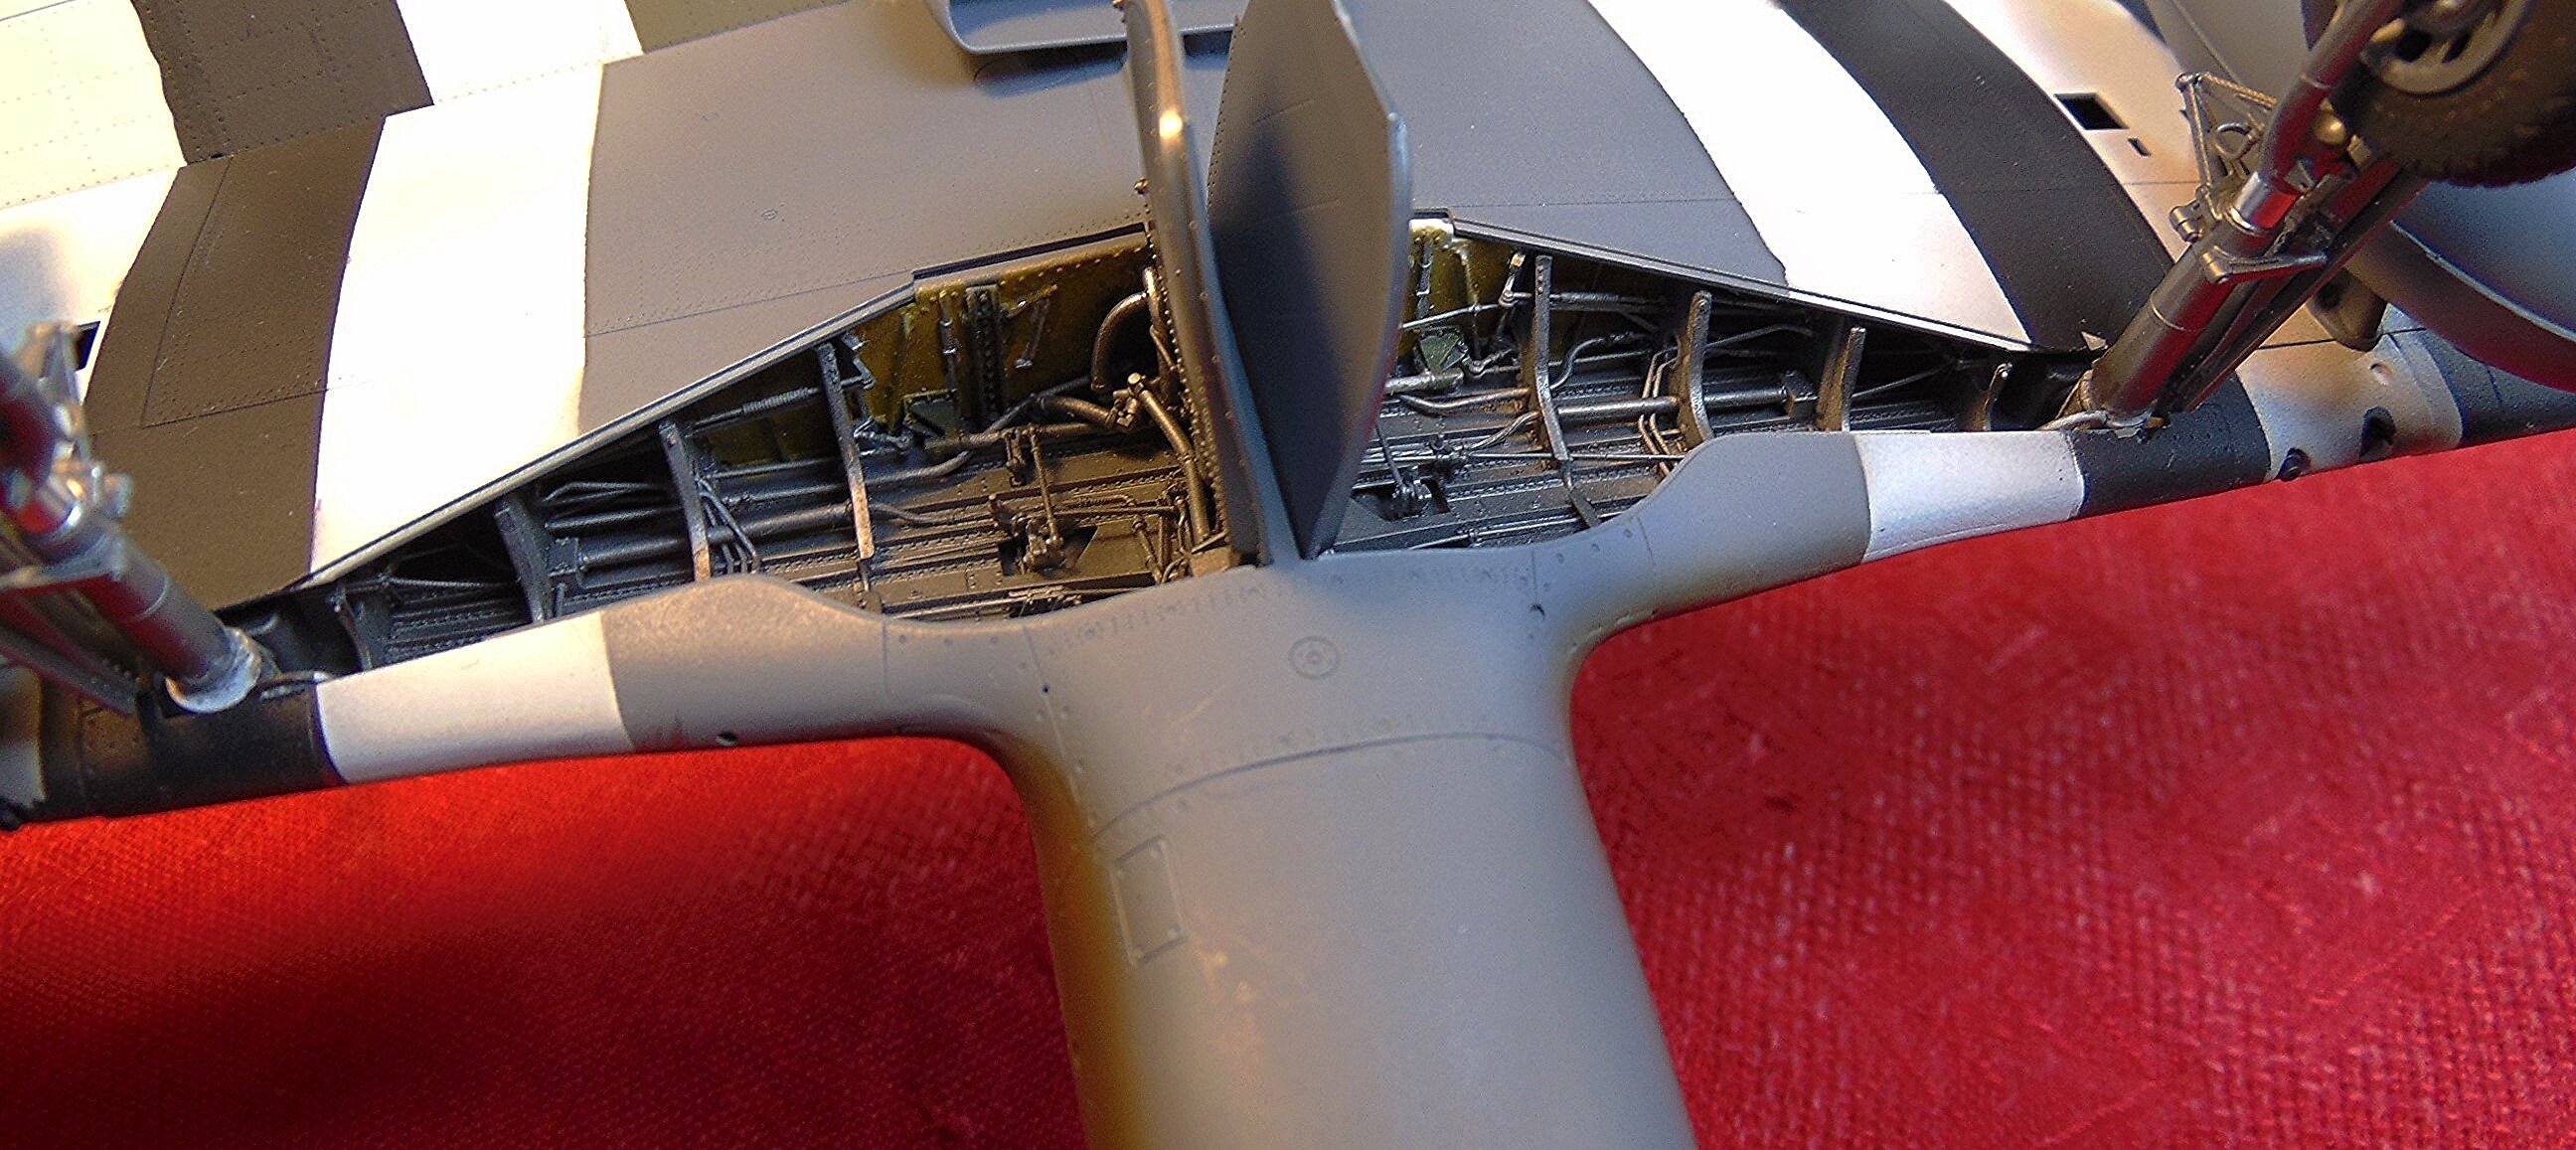
1 pointFinished with this one. Eduard did a great job on this model. Good fit and details. The only after market item was the seat belts which are FineMolds. I painted it with Testor's OD and Gray. Wheel wells are Testor's YZC and Alclad Duraluminum. Decals are from the kit. This was a enjoyable build with few problems, mostly self-induced! I recommend it!!! 😀


 1 point
-
1 pointBack from holiday, so had a bit of spare time to get some primer down and then the base interior colour. The AHHQ instructions don't reference any particular colour range, just generic names, so I've gone with my gut feel here and used MRP Reseda Green for the interior as it looks 'right' to my eye. I do have a son who's badly colour blind, so..... Next up is all the detail and sundries painting

 1 point
-
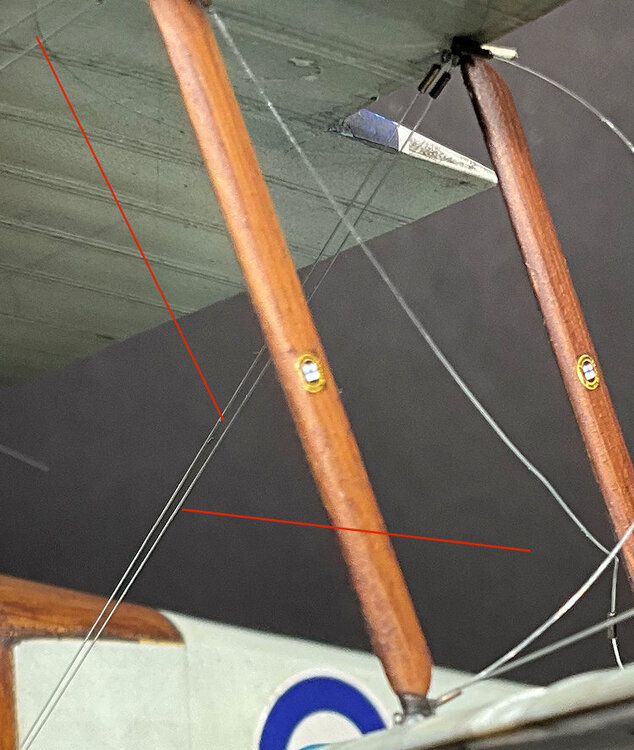
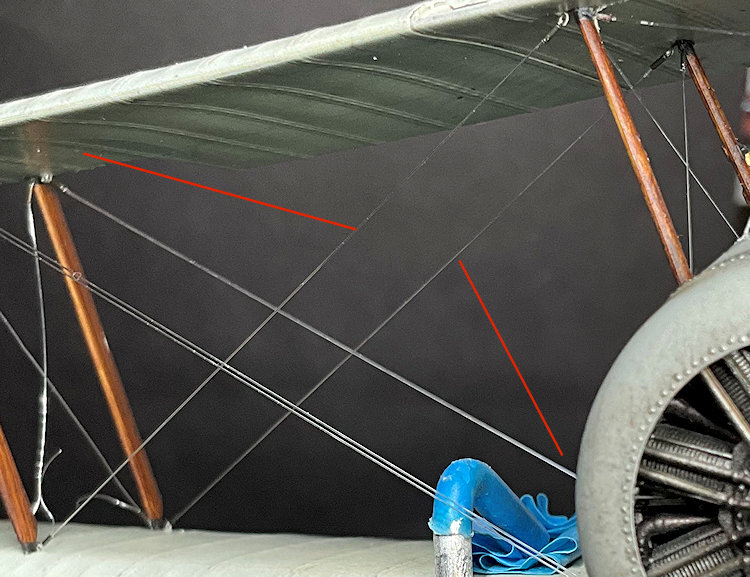
1 pointHi all, Wing rigging is done. The photographs are in the order that the rigging was applied to the model. Cabane strut bracing wires. Flying wires. Landing wires. Incidence wires. All 0.12 mm diameter mono-filament with 0.4 or 0.5 mm diameter tube. The four ailerons are now fitted and rigging the aileron control lines is next, Mike


 1 point
-
Clean and crisp. Joy to follow. Cheers Martin1 point
-
1 point