Paddy
Members
-
Joined
-
Last visited
-
Your technique of thinned black over the natural metal finish is really shown to advantage in the pictures on Sunday, Top tip 😉
-
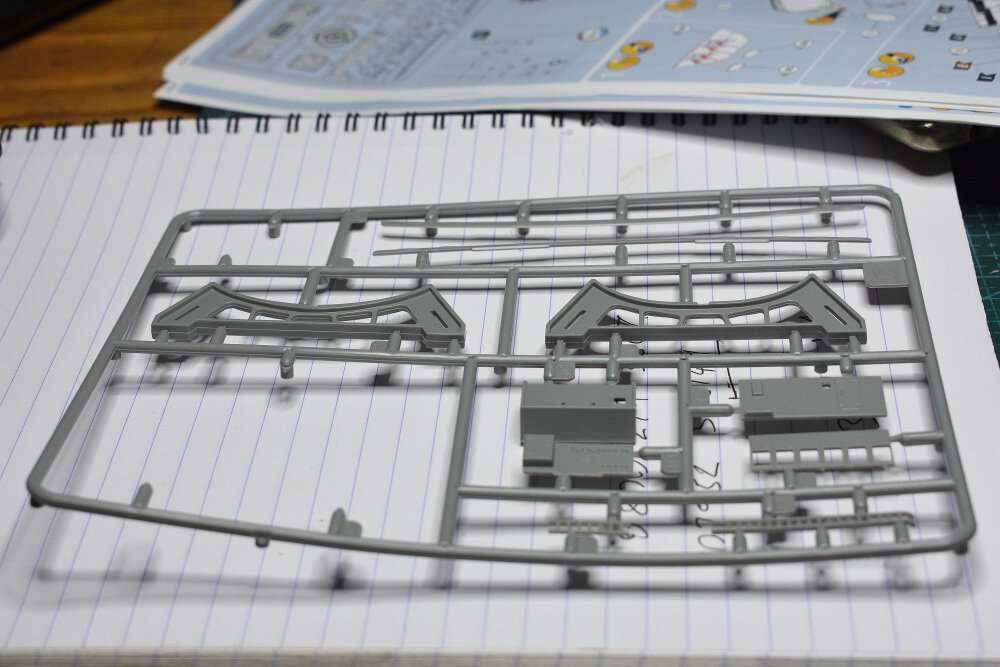
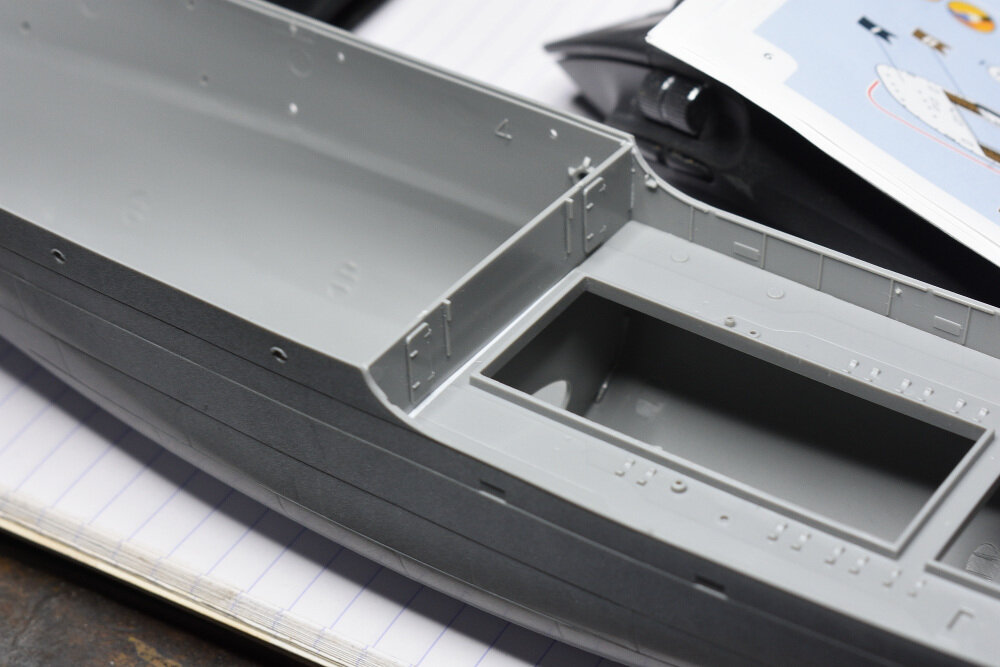
The bulkhead was lose in the box, now i have found its sprue i can see some of the problem Twisting it back where it should be helps the front deck a small tapered slither of plastic card sorts the back deck.........for now
-
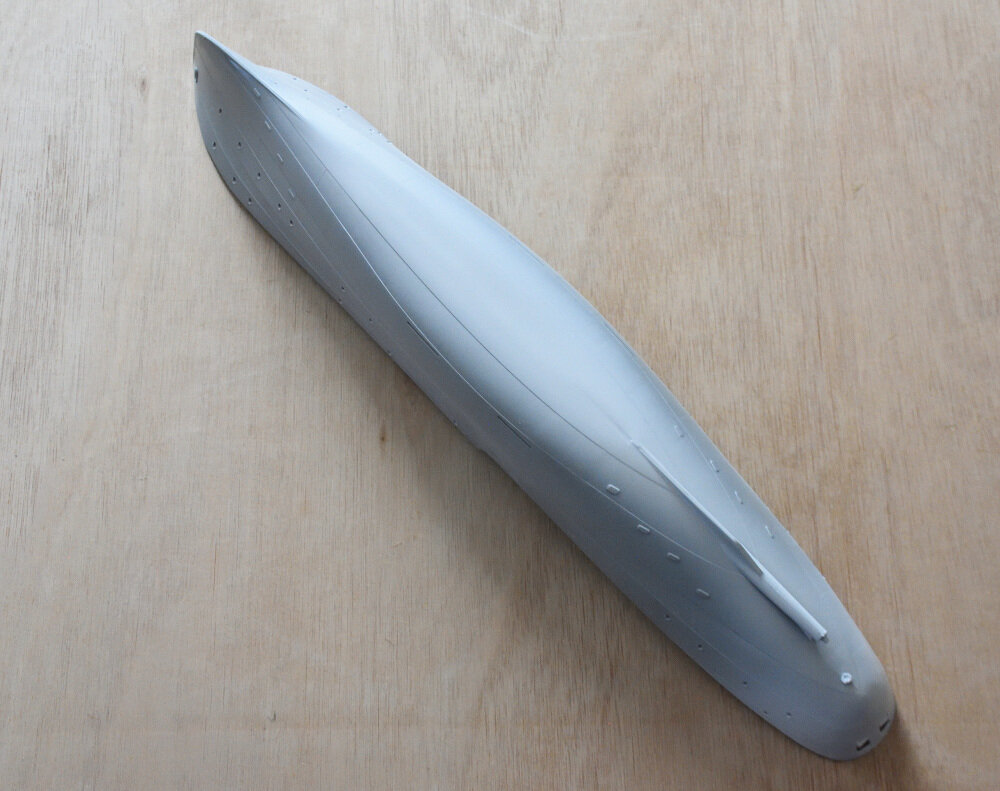
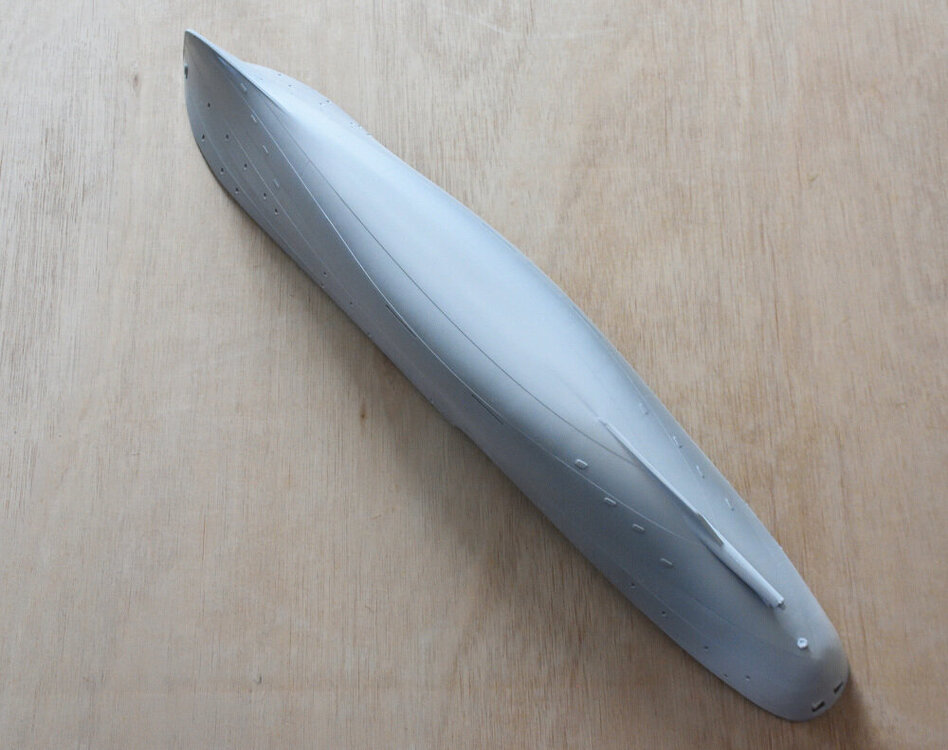
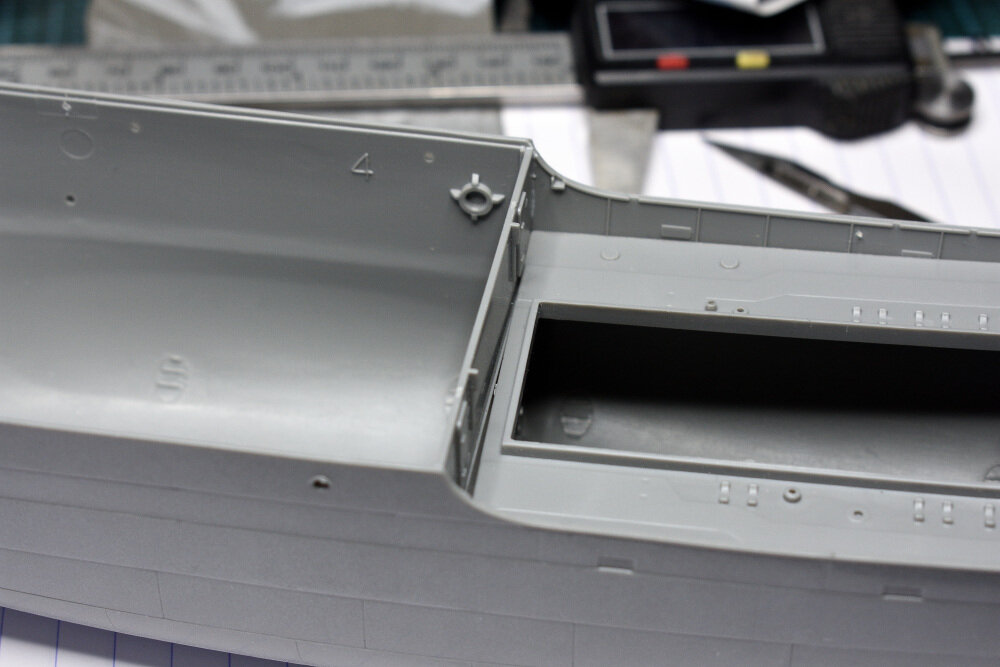
Despite my best efforts to get the basic hull correct I have been thwarted because the 2 halves of the hull are not quite symmetrical. There is a central bulkhead that locates in slots each side of the hull and this forms the vertical wall between the forward and aft top decks which are on different levels. Unfortunately, this bulkhead doesn’t sit square so the decks don’t butt up against it properly. I cant see an easy fix at the moment but it might not show once the superstructure is in place on the decks. I dont want angle the bulkhead and i dont want to trim the decks so it might just be a case of fill it what i have done is got rid of the seam /join between the 2 hull halves. Ones its Matt black it should disappear completely
-
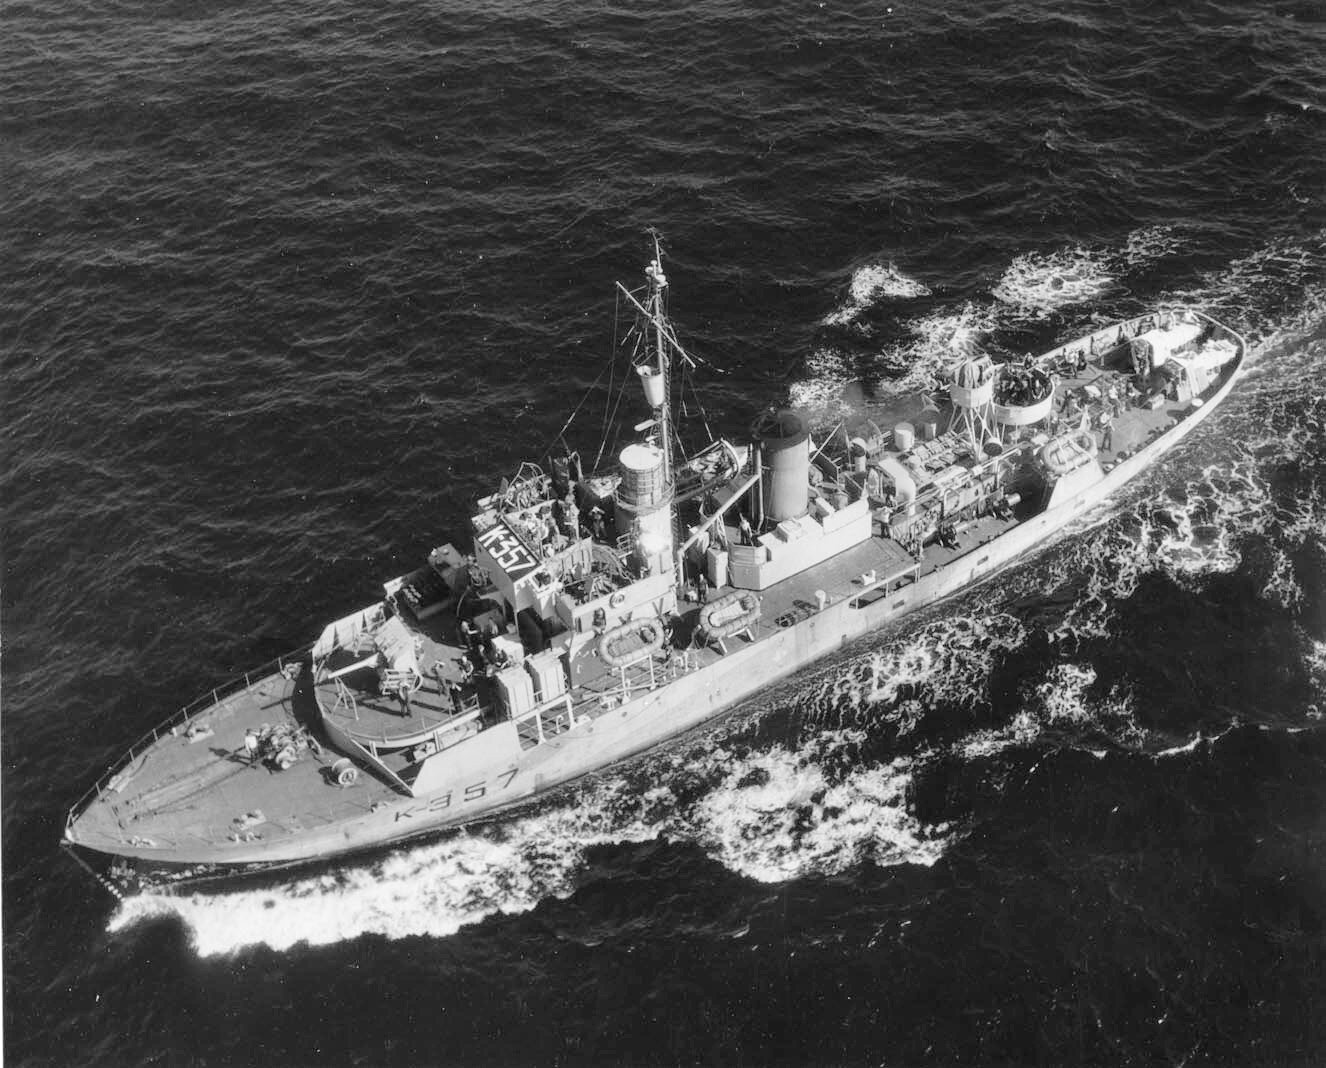
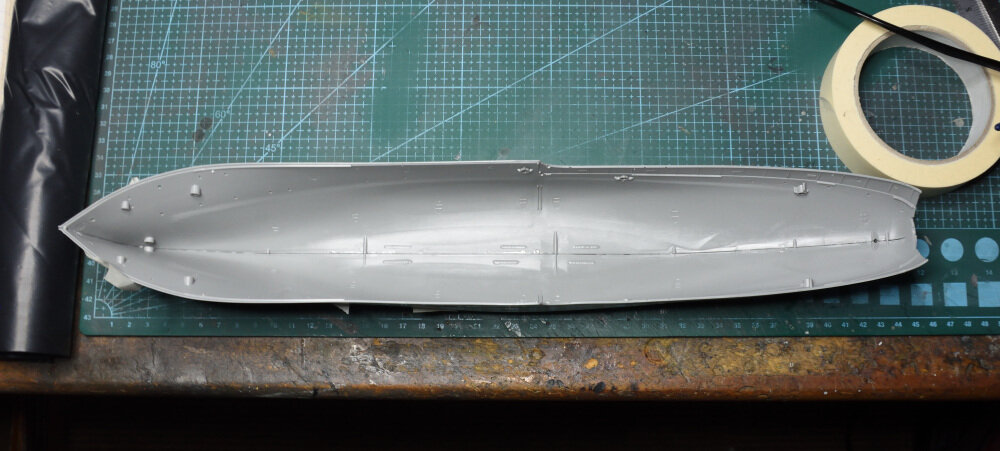
This is my first attempt at a ship. I would guess i started building about 55 years ago so quite a miles stone for me . I have to admit i know nothing about ships other than the basics you pick up on in life so all i can do is apply general modeling principles and steal other peoples ideas from the millions of builds on the Web . My biggest problem will be the scale, i like to add nuts and bolts and wiring to a 1/12 car, its hard to see what i can add to this kit other than PE. Normally i avoid PE on builds due to its two dimensional nature when i am building three dimensional models but in this scale PE could actually work quite well as 1/144 parts like ladders etc would appear flat anyway ?. Would you believe I found a 12-minute documentary on WWII Ships railings on You tube Railings on ships were mostly posts with wire strung between them and were called life lines. Vertical posts varied from i section castings and extrusions to just round steel posts. These posts were 1 inch dia and strung with either ¼” or ½” wire or chains. So the first problem is the posts on the Snowberry would need to be .007” (7 thou) and the wire about 2.3 (thou). In terms of metric which most plastic and brass comes in that’s 0.2mm vertical strung with less than 0.1 of a mm. Bearing in mind the posts would need to be drilled to take the wire it’s hard to see how you could get the posts any smaller than the kit posts which look huge. So that’s not going to happen. The kit railings are 0.8mm or 115mm true scale ( 4.75 inch ) so nearly 5 times over size. I think in this tiny scale it’s going to be compromises all along the way which is a shame as I hate out of scale things where for example you have a porthole to scale and a railing above almost half the diameter of the porthole I will wait and see what the PE looks like when it arrives later this week from Korea. I think I need to develop a completely new mode from my std 1/12 mode these days and build to create the right effect/impression, so things look right rather than are right. Flower Class Corvettes were built for coastal work. They were never intended too cross oceans, they rolled, were flat out at 18 knots and were not weather proof, originally built for a crew of 50 most were carrying over 80 by the end of the war. Cramped, Cold, Wet, poor food, uncomfortable to the extent some people never got over their seasickness, they were a miserable place to be. 300 were built . 22 were torpedoed by Germans but they sank 44 U-Boats. however it was not about scores, the real victory was how many merchant ships made it across the Atlantic thanks to these small ships, not how many U-boats never made it home.. There were two versions of the flower class, early and modified, identified by the mast being in front of the bridge or behind, this will be build of the later one below with the mast behind and roughly 200ft long and 1000 tons.;. All i have done at this stage is tape things together to make sure the basics fit. This is just 4 parts but but i need to get this right, straight and true as its the foundations of the whole build. One other pet hate of mine is Revell boxes so the first job was to convert it to a top opener so you can find parts without having to tip them out all over the place




-
Tamiya paint being pulled off by Tamiya tape is a problem I have on most builds, secret seems to be to get the tape off as soon as the fresh paint is touch dry. Another problem i have had leaving it on is the glue actually attacks the paint if you are masking over paint just a few days old.
-
You will enjoy the Abarth, its really small , just watch out for the rear cover fit and if you use the optional cooling fans they are a bit heavy for their mountings and need to be exact in positioning against the air ducts. Other than that its a breeze :) I looked at the new corvette but decided to wait, its a bit Modern for me :
-
incidentally do you use a vibratory polisher of a wet tumbler ? I have 5 LB wet tumbler works with small ceramic chips
-
Any MFH without doors, windows, roof, anything with hinges is a plus🤣 Nothing i can say Rob, you know your way around these things better than me so i am here to learn....fire away 😃
-
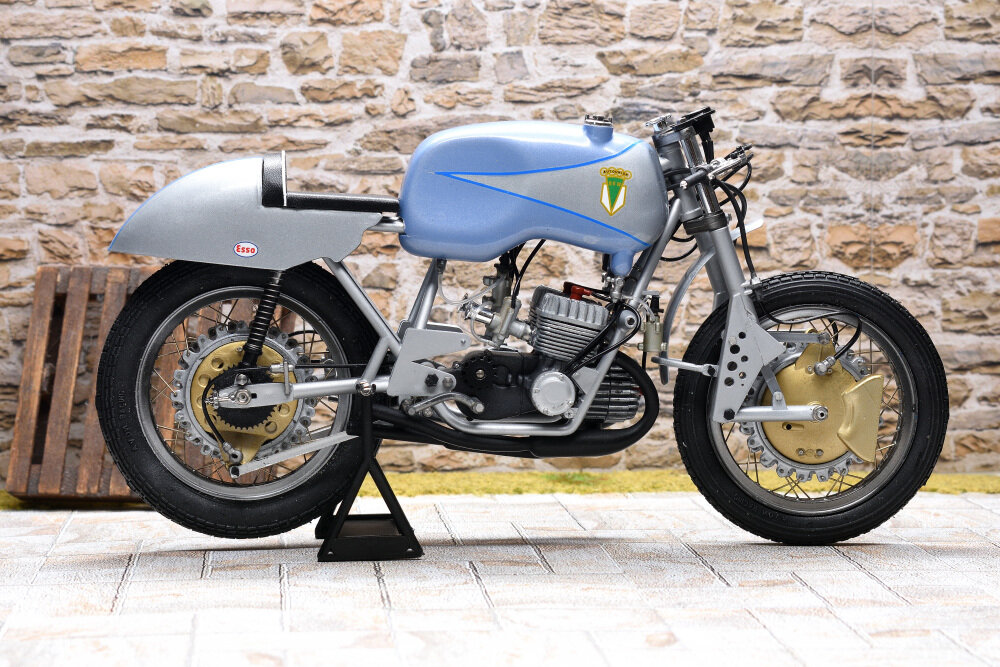
It was all going rather well until I hit the home run. Two problems, 1/ the kit supplied drive chain was of the rubber band variety and decades in a box had left it perished and pretty useless. 2/ I found the fuel tank had the slot for the spine moulded of centre and at this final stage there was not a lot I could do with it. . It meant the tank was sitting at an angle and to correct it now meant moving the seat backwards in order to fit the tank cushion in place, It proved easier to remove the tank cushion completely and move the seat forwards a few mm. Quite a nice model for a 1960’s kit , being a 1960s model myself the kit has worn better than me. Protar 1/9 DKW "Screaming Buzz saw"


-
I will put some finished pictures in the finished section Thanks for following 😉

-
This is why these forums are so good, they help others :-)
-
Ha ha i ordered the pontos kit then looked on here to see you have it too :-). I am not a great fan of PE simply because its 2D so things like railings are flat, however i read a review and its said you use about 50% of it which sounds right for most PE sets.....we shalll see :-)
-
Thanks Rob, I would actually rather try and make something of a basic kit than just go through the motions of a Tamiya shake and bake. I used to build a lot of aircraft but only if could get an Aires resin kit for it or and Eduard engine to make it interesting. I am thinking about the Revel 1/144 snowberry ship, i have never built a ship in all my years. It looks to have some massive railings and over size structures that could be fun remaking ?
-
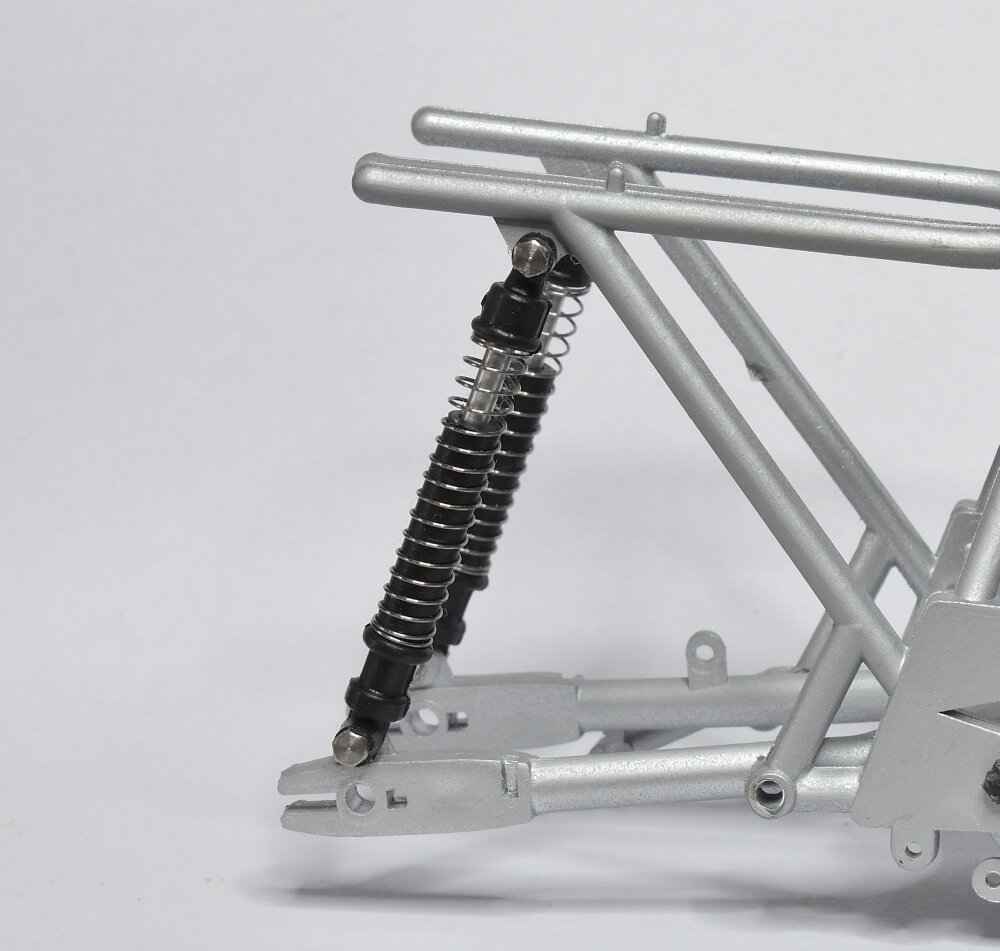
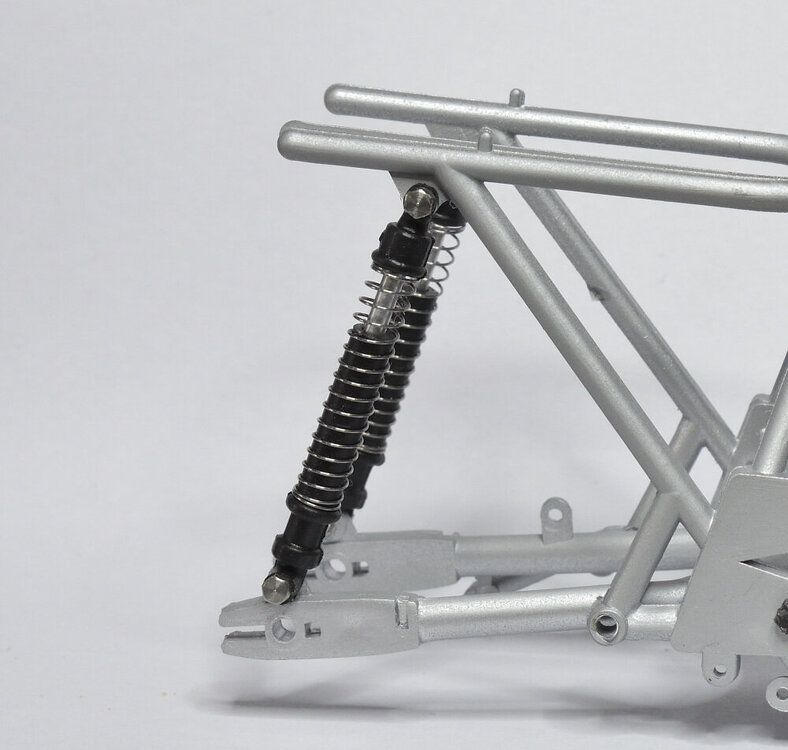
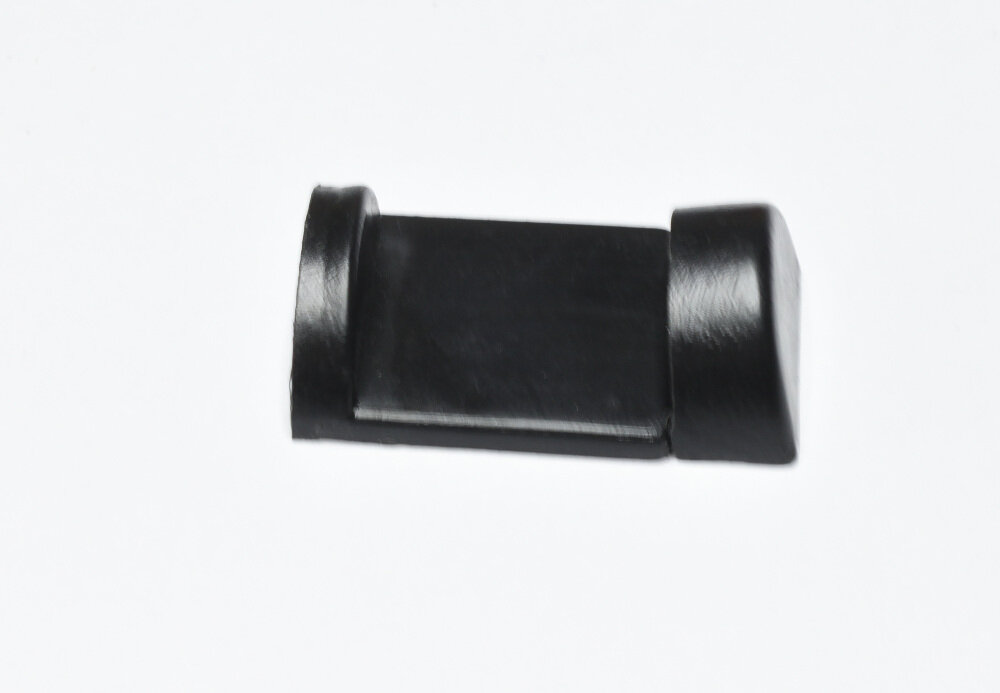
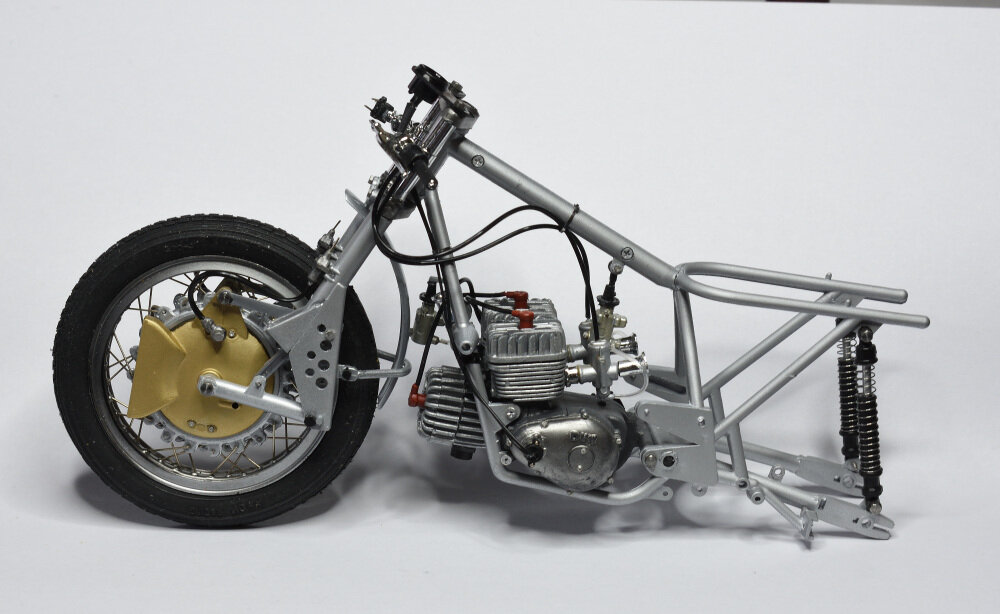
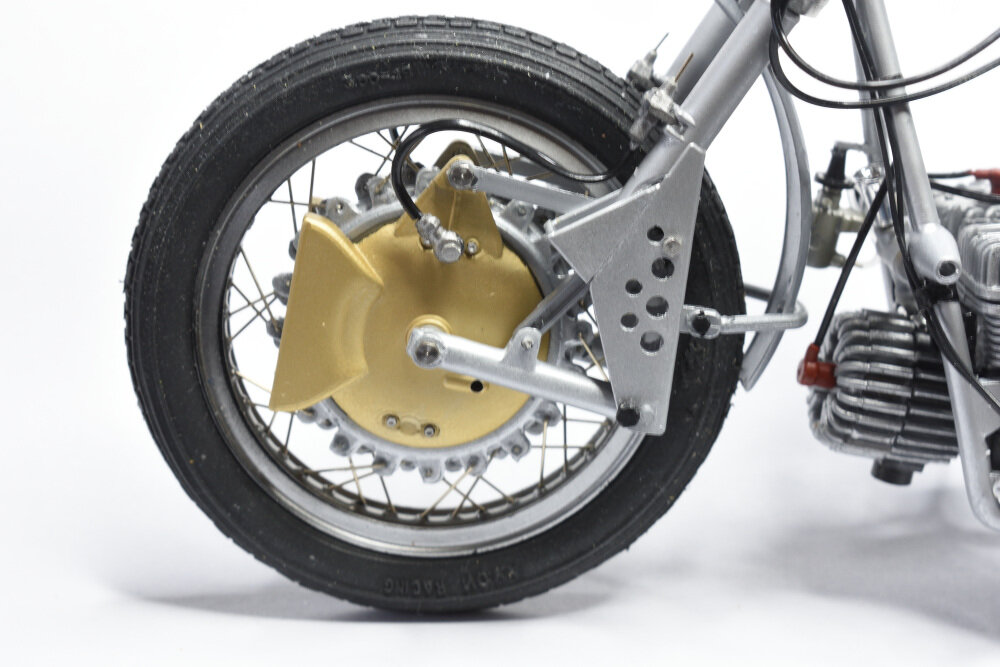
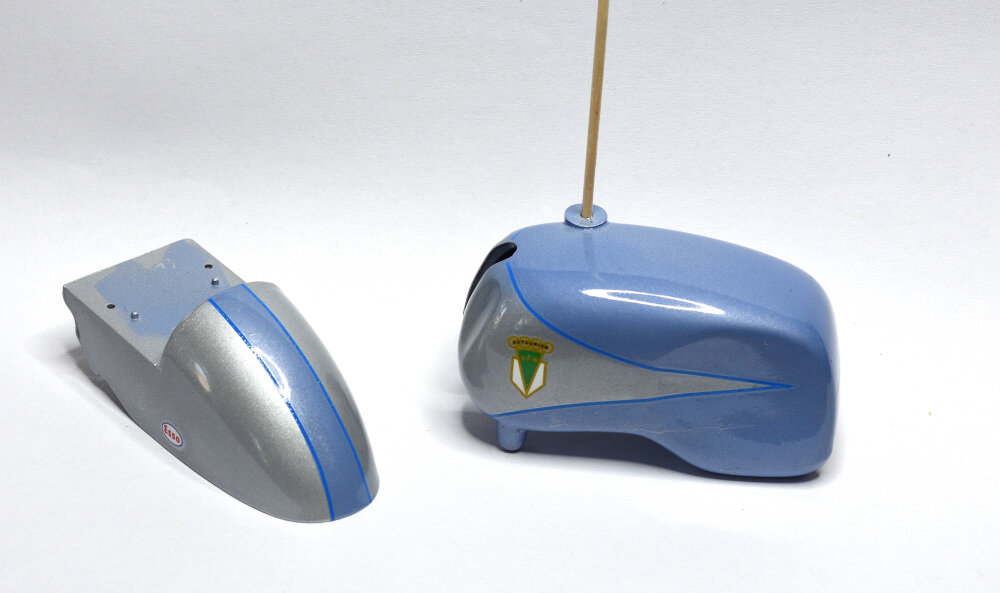
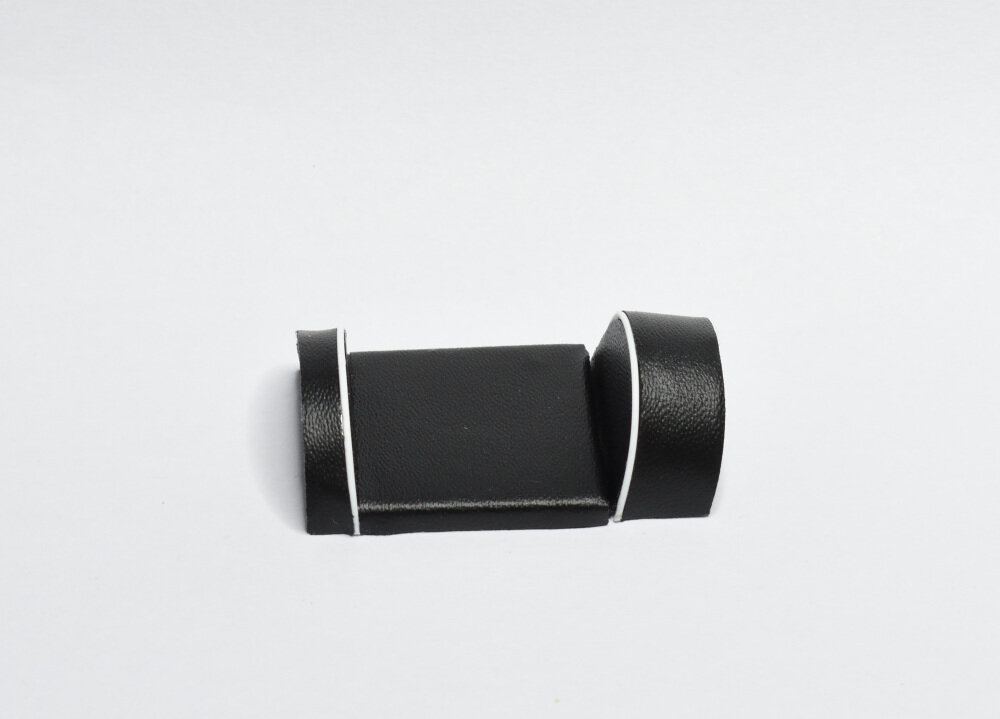
Loads going on, I covered the seat in vinyl and added some piping to hide the joins but it looks a bit tarty, maybe paint the piping black ?? I got a gloss coat on the tank and added a stripe to the seat, still need to polish this once its hard i got the front wheel in, not an easy job I added the rear shocks. I have replaced the damper rods with alloy tube rather than the black plastic kit parts this is probably the most difficult kit i have ever built .its taken everything i have to make it look even half acceptable . Lack of usable instructions doesn't help, not so much for where things go but order of assembly, lots of blind alleys here especially on the front end. That coupled with all the fixing screws were missing and they were a completely odd size at 1.2mm so i have had to improvise most joints. You notice the rear shocks are held in place with stainless 12BA hex head screws Fortunately i have stocks of small screws from my car builds supplied by a company in the UK specializing in scale model steam engines. BA Fasteners, Imperial Fasteners, Micro Metric Stainless, Small Screws, UNC Square Nuts, Ba Screws, Ba Bolts,
-
Master class.